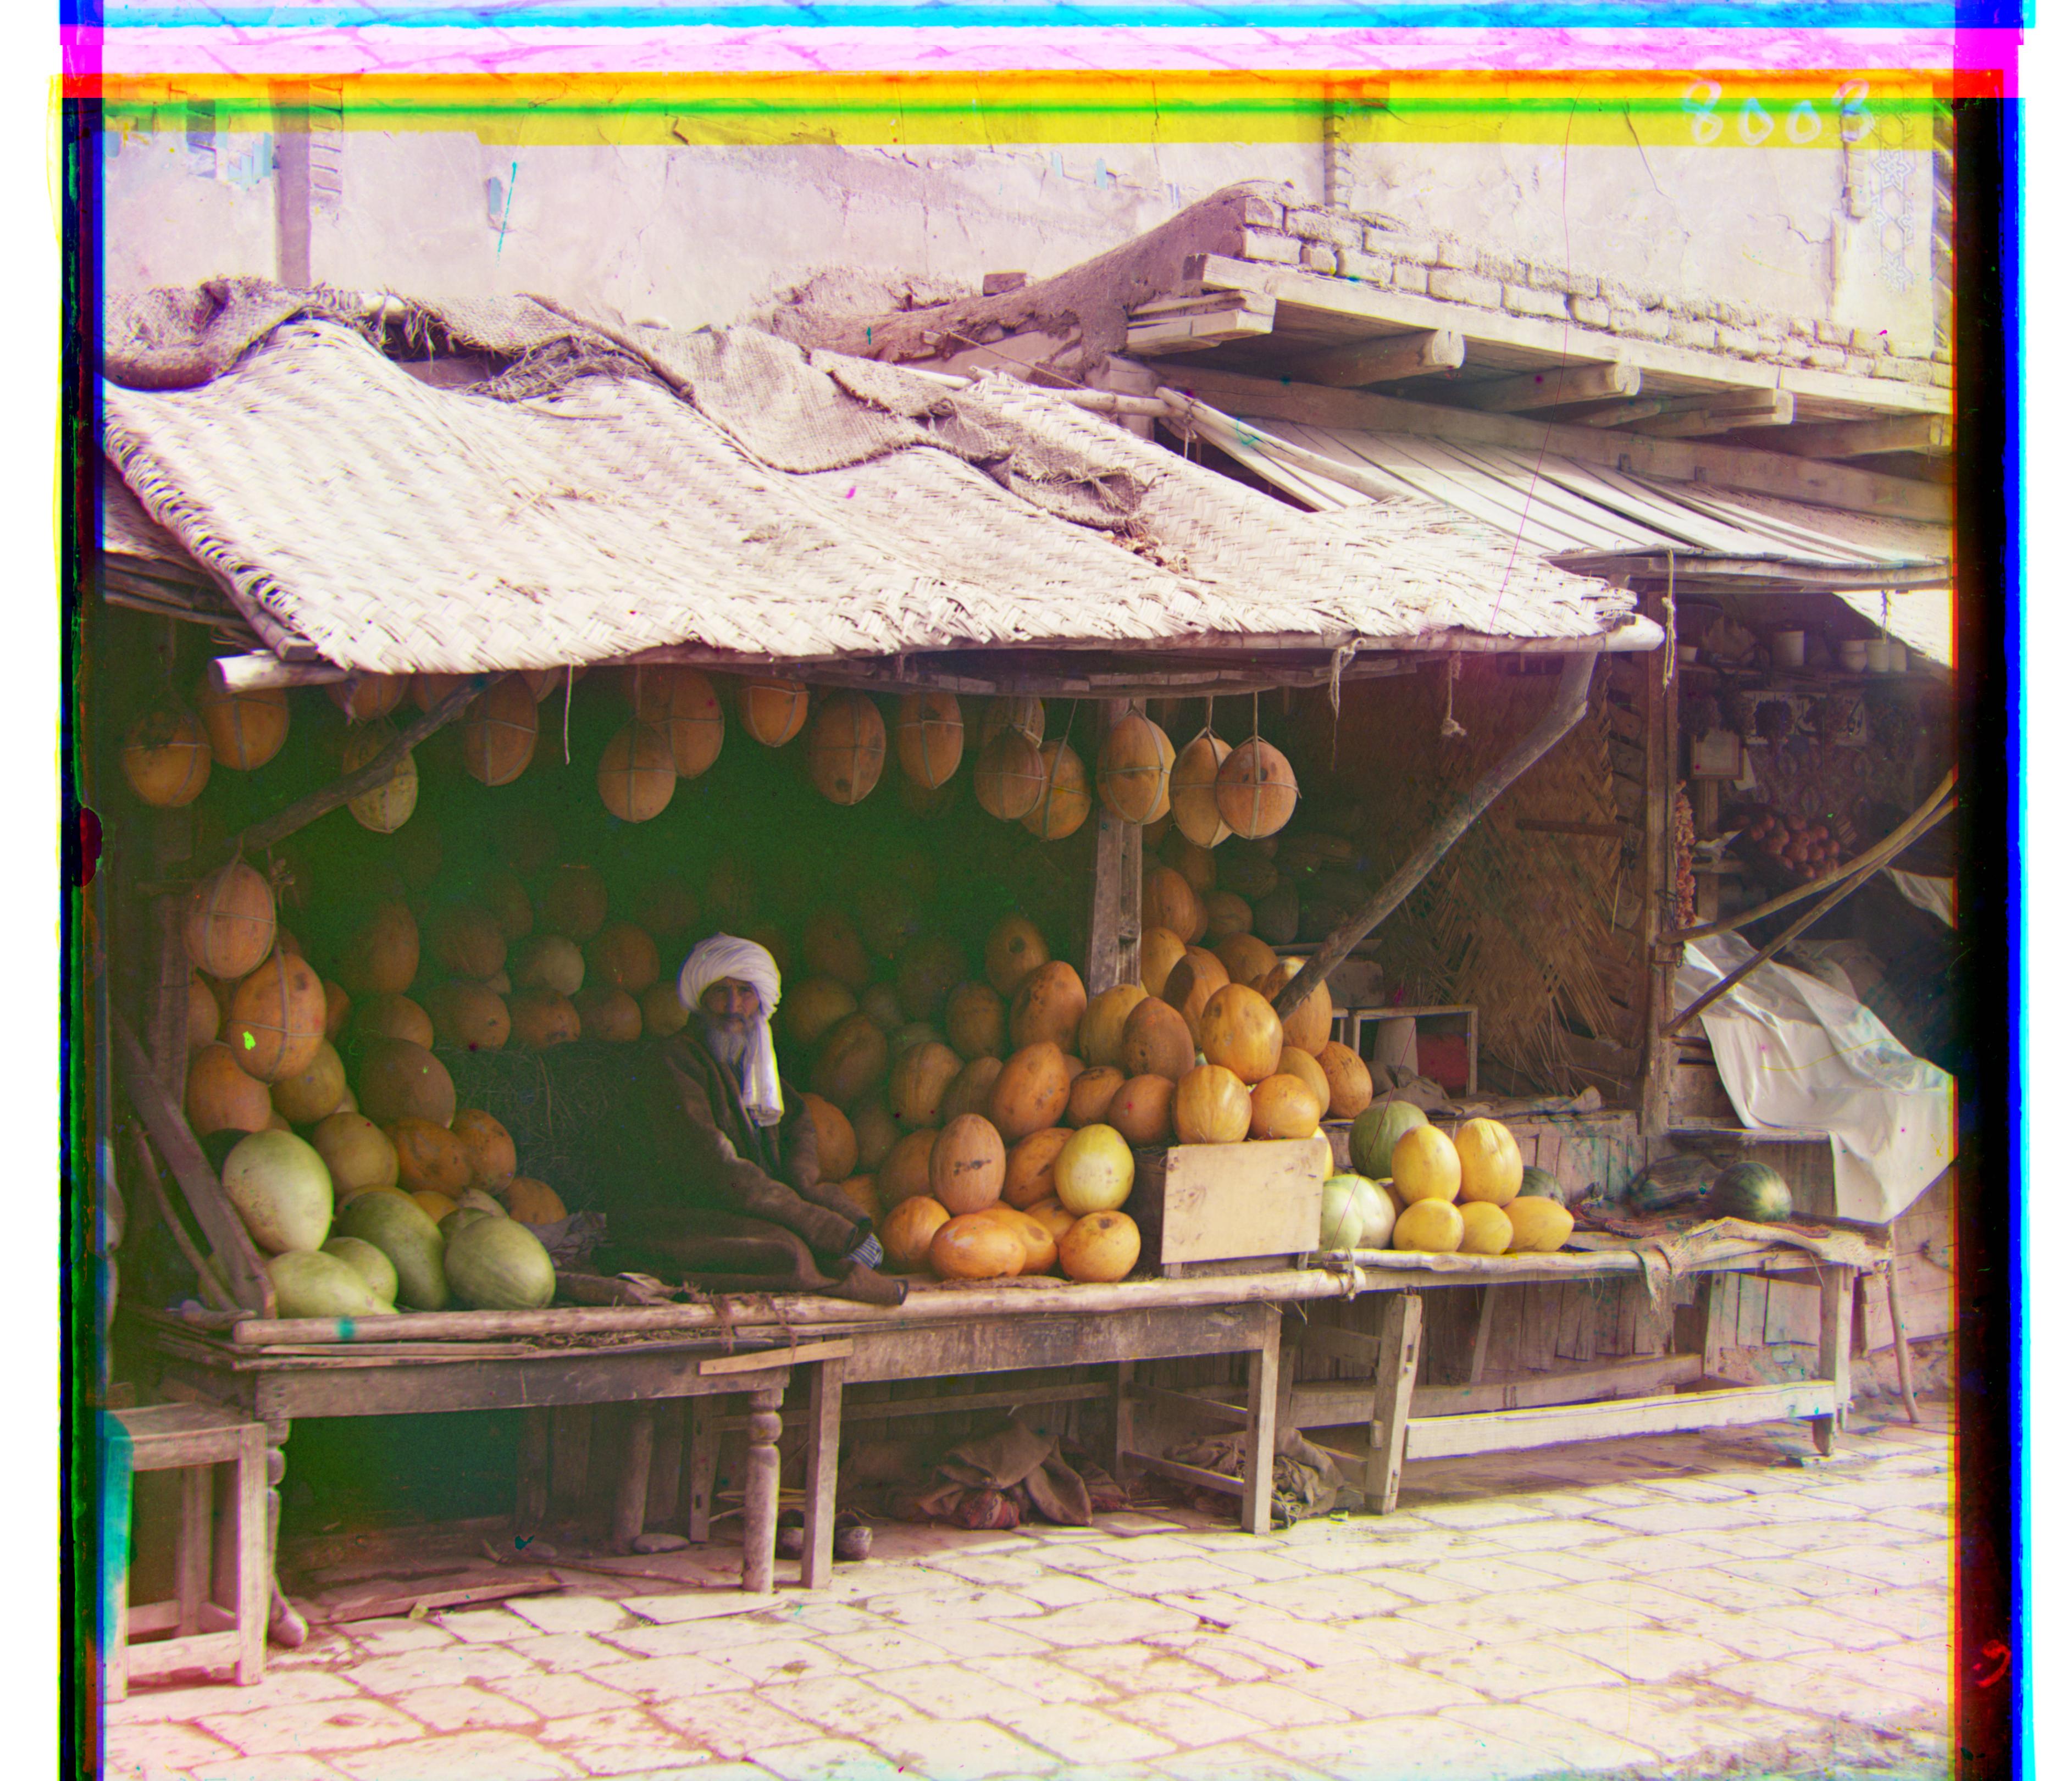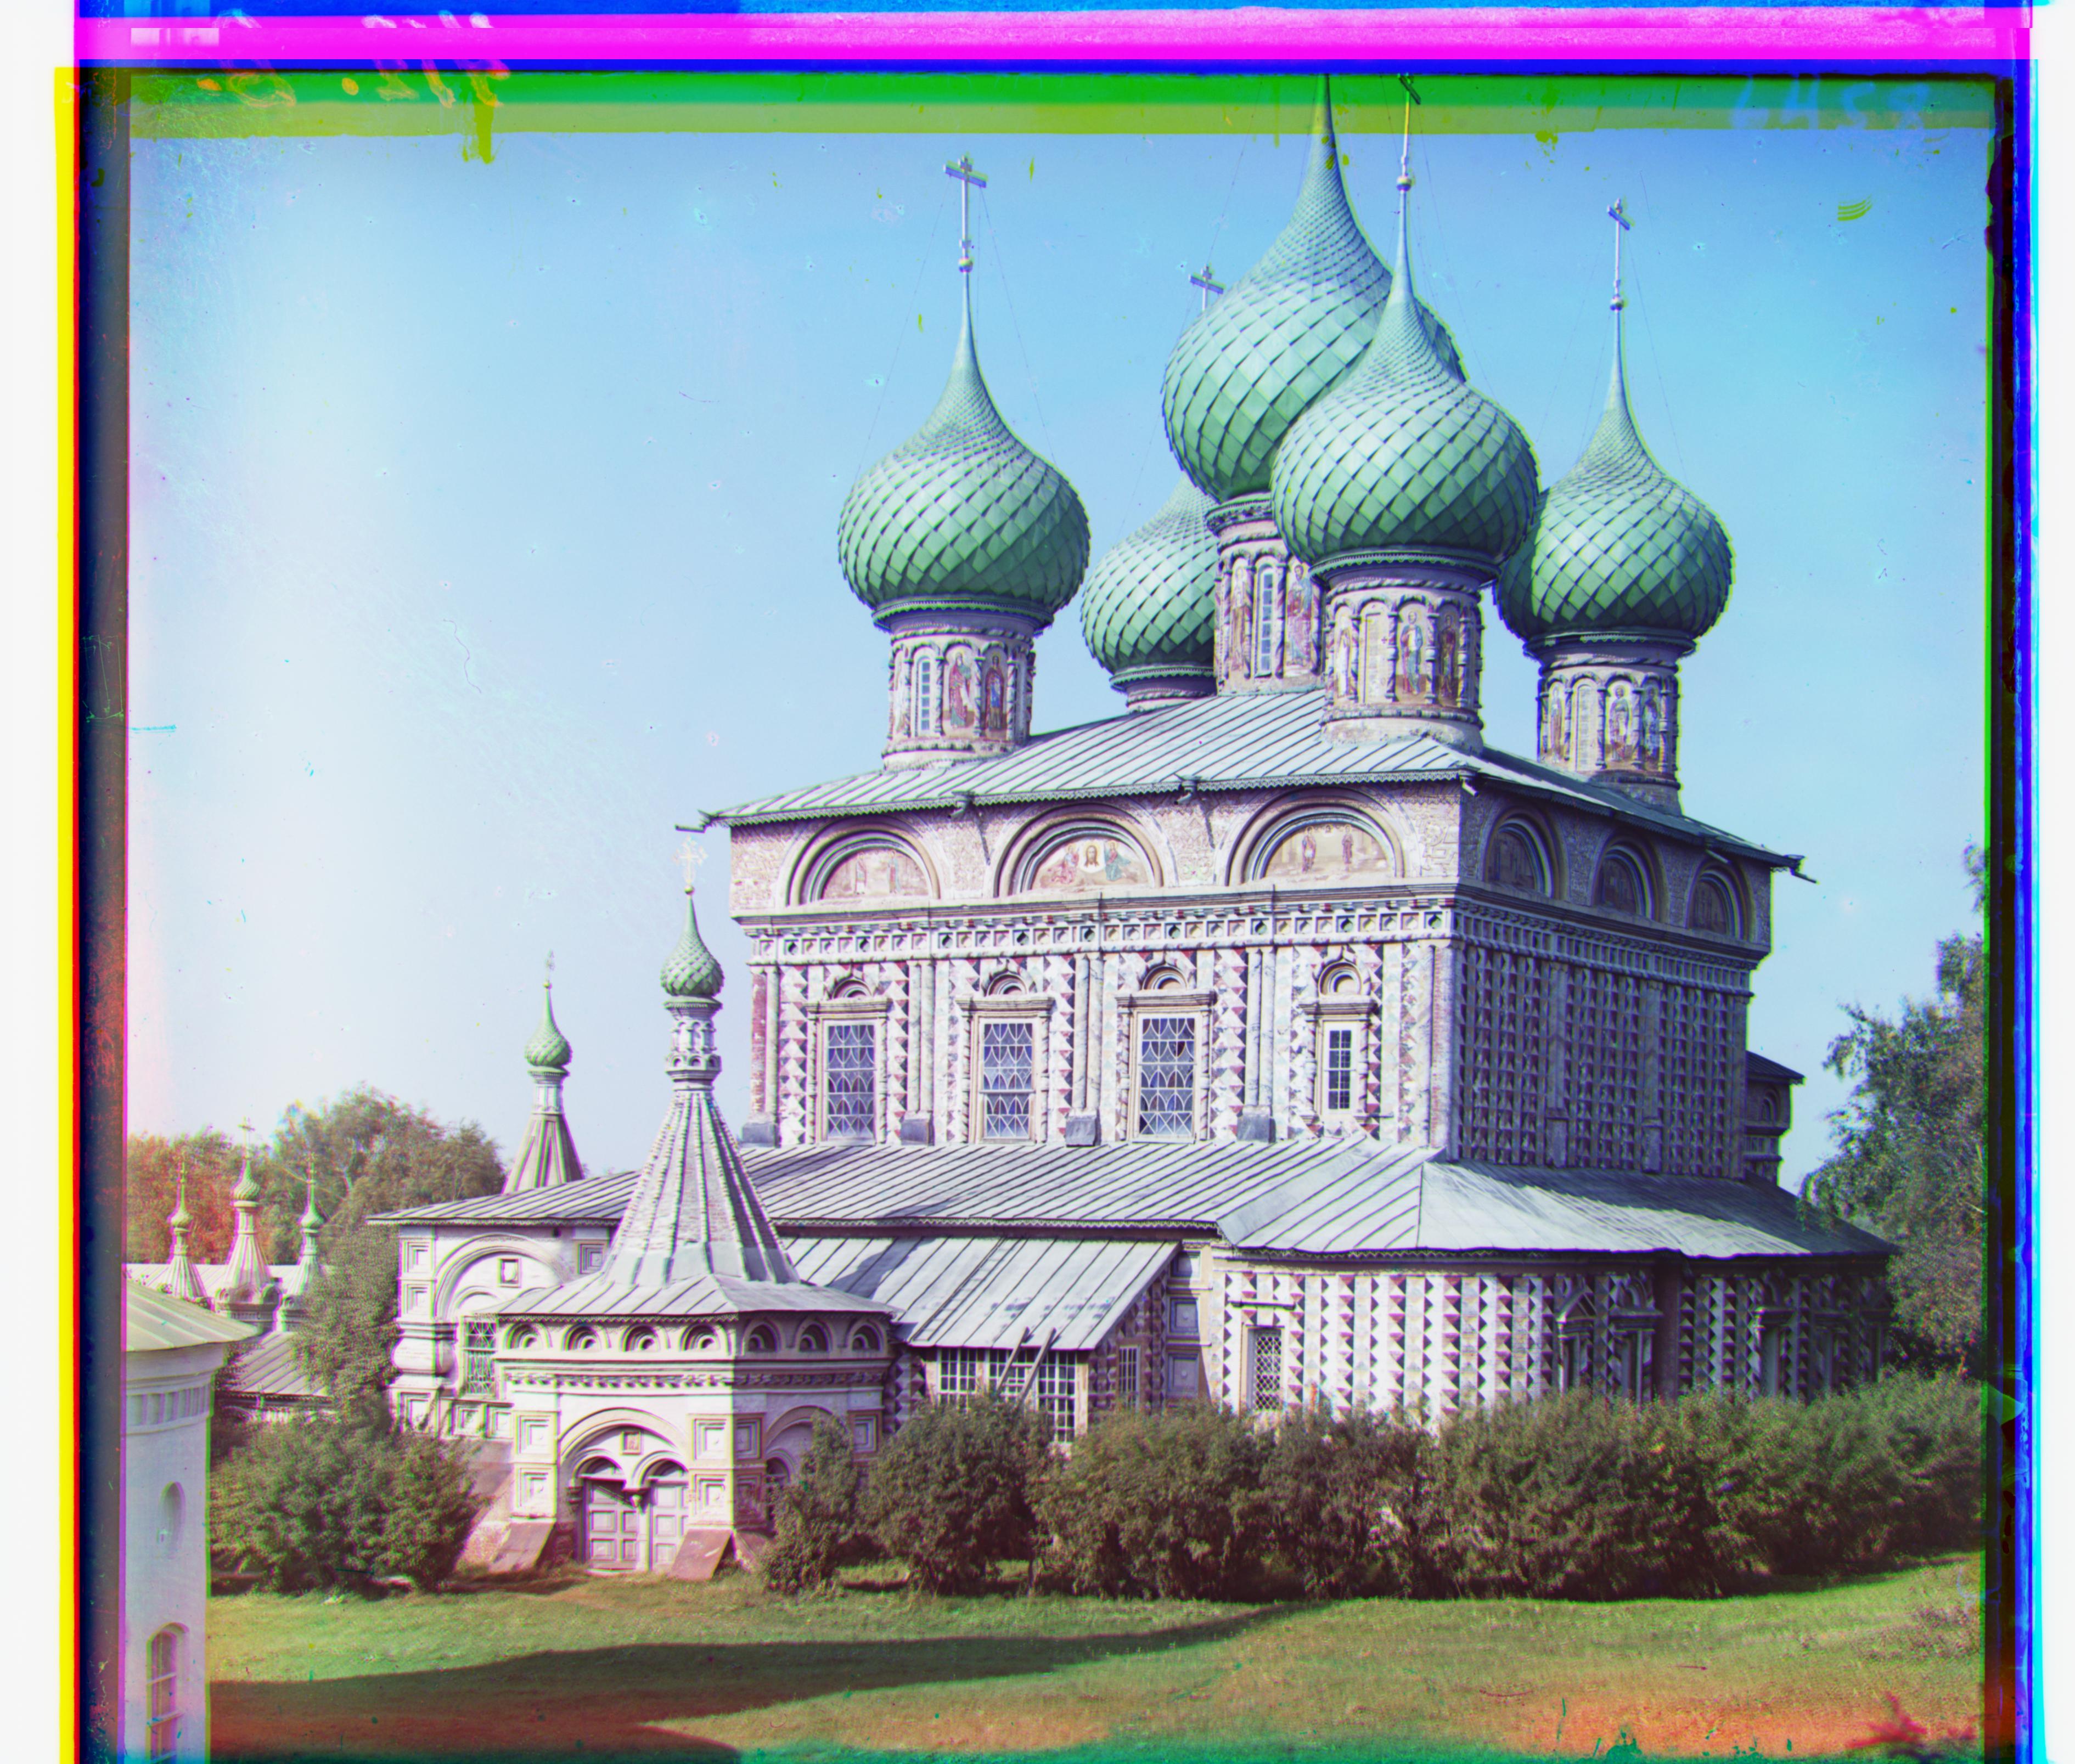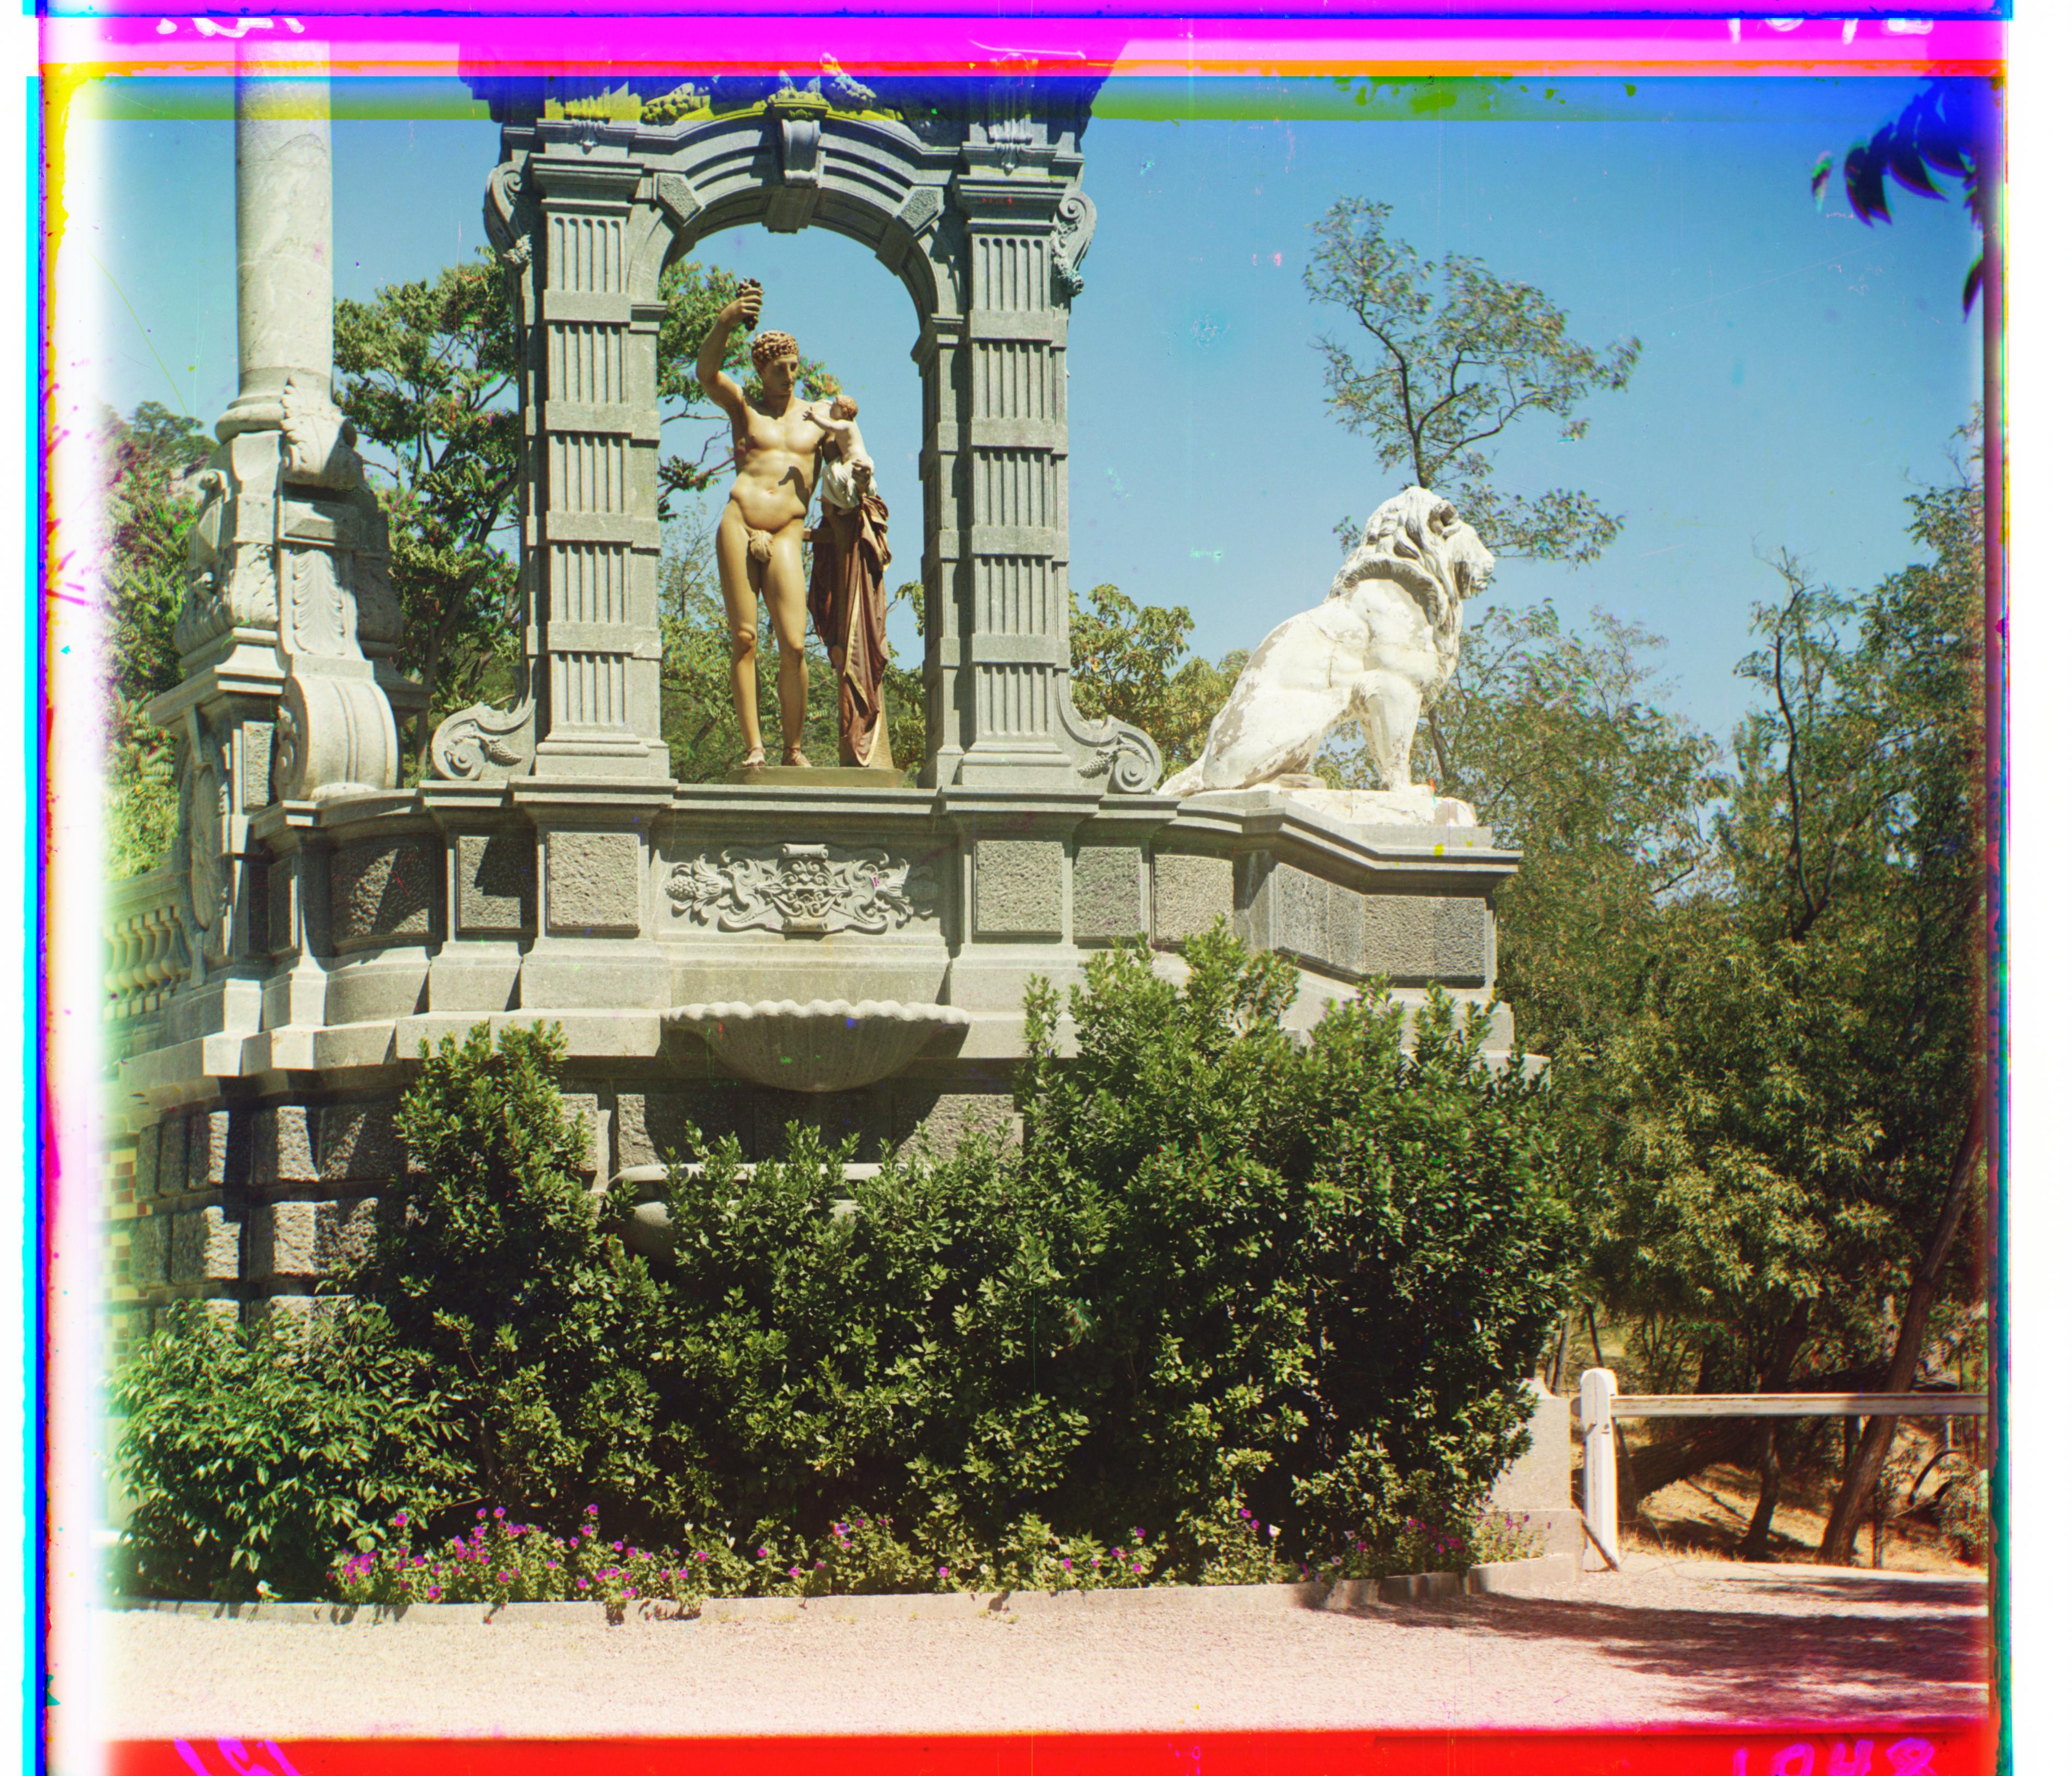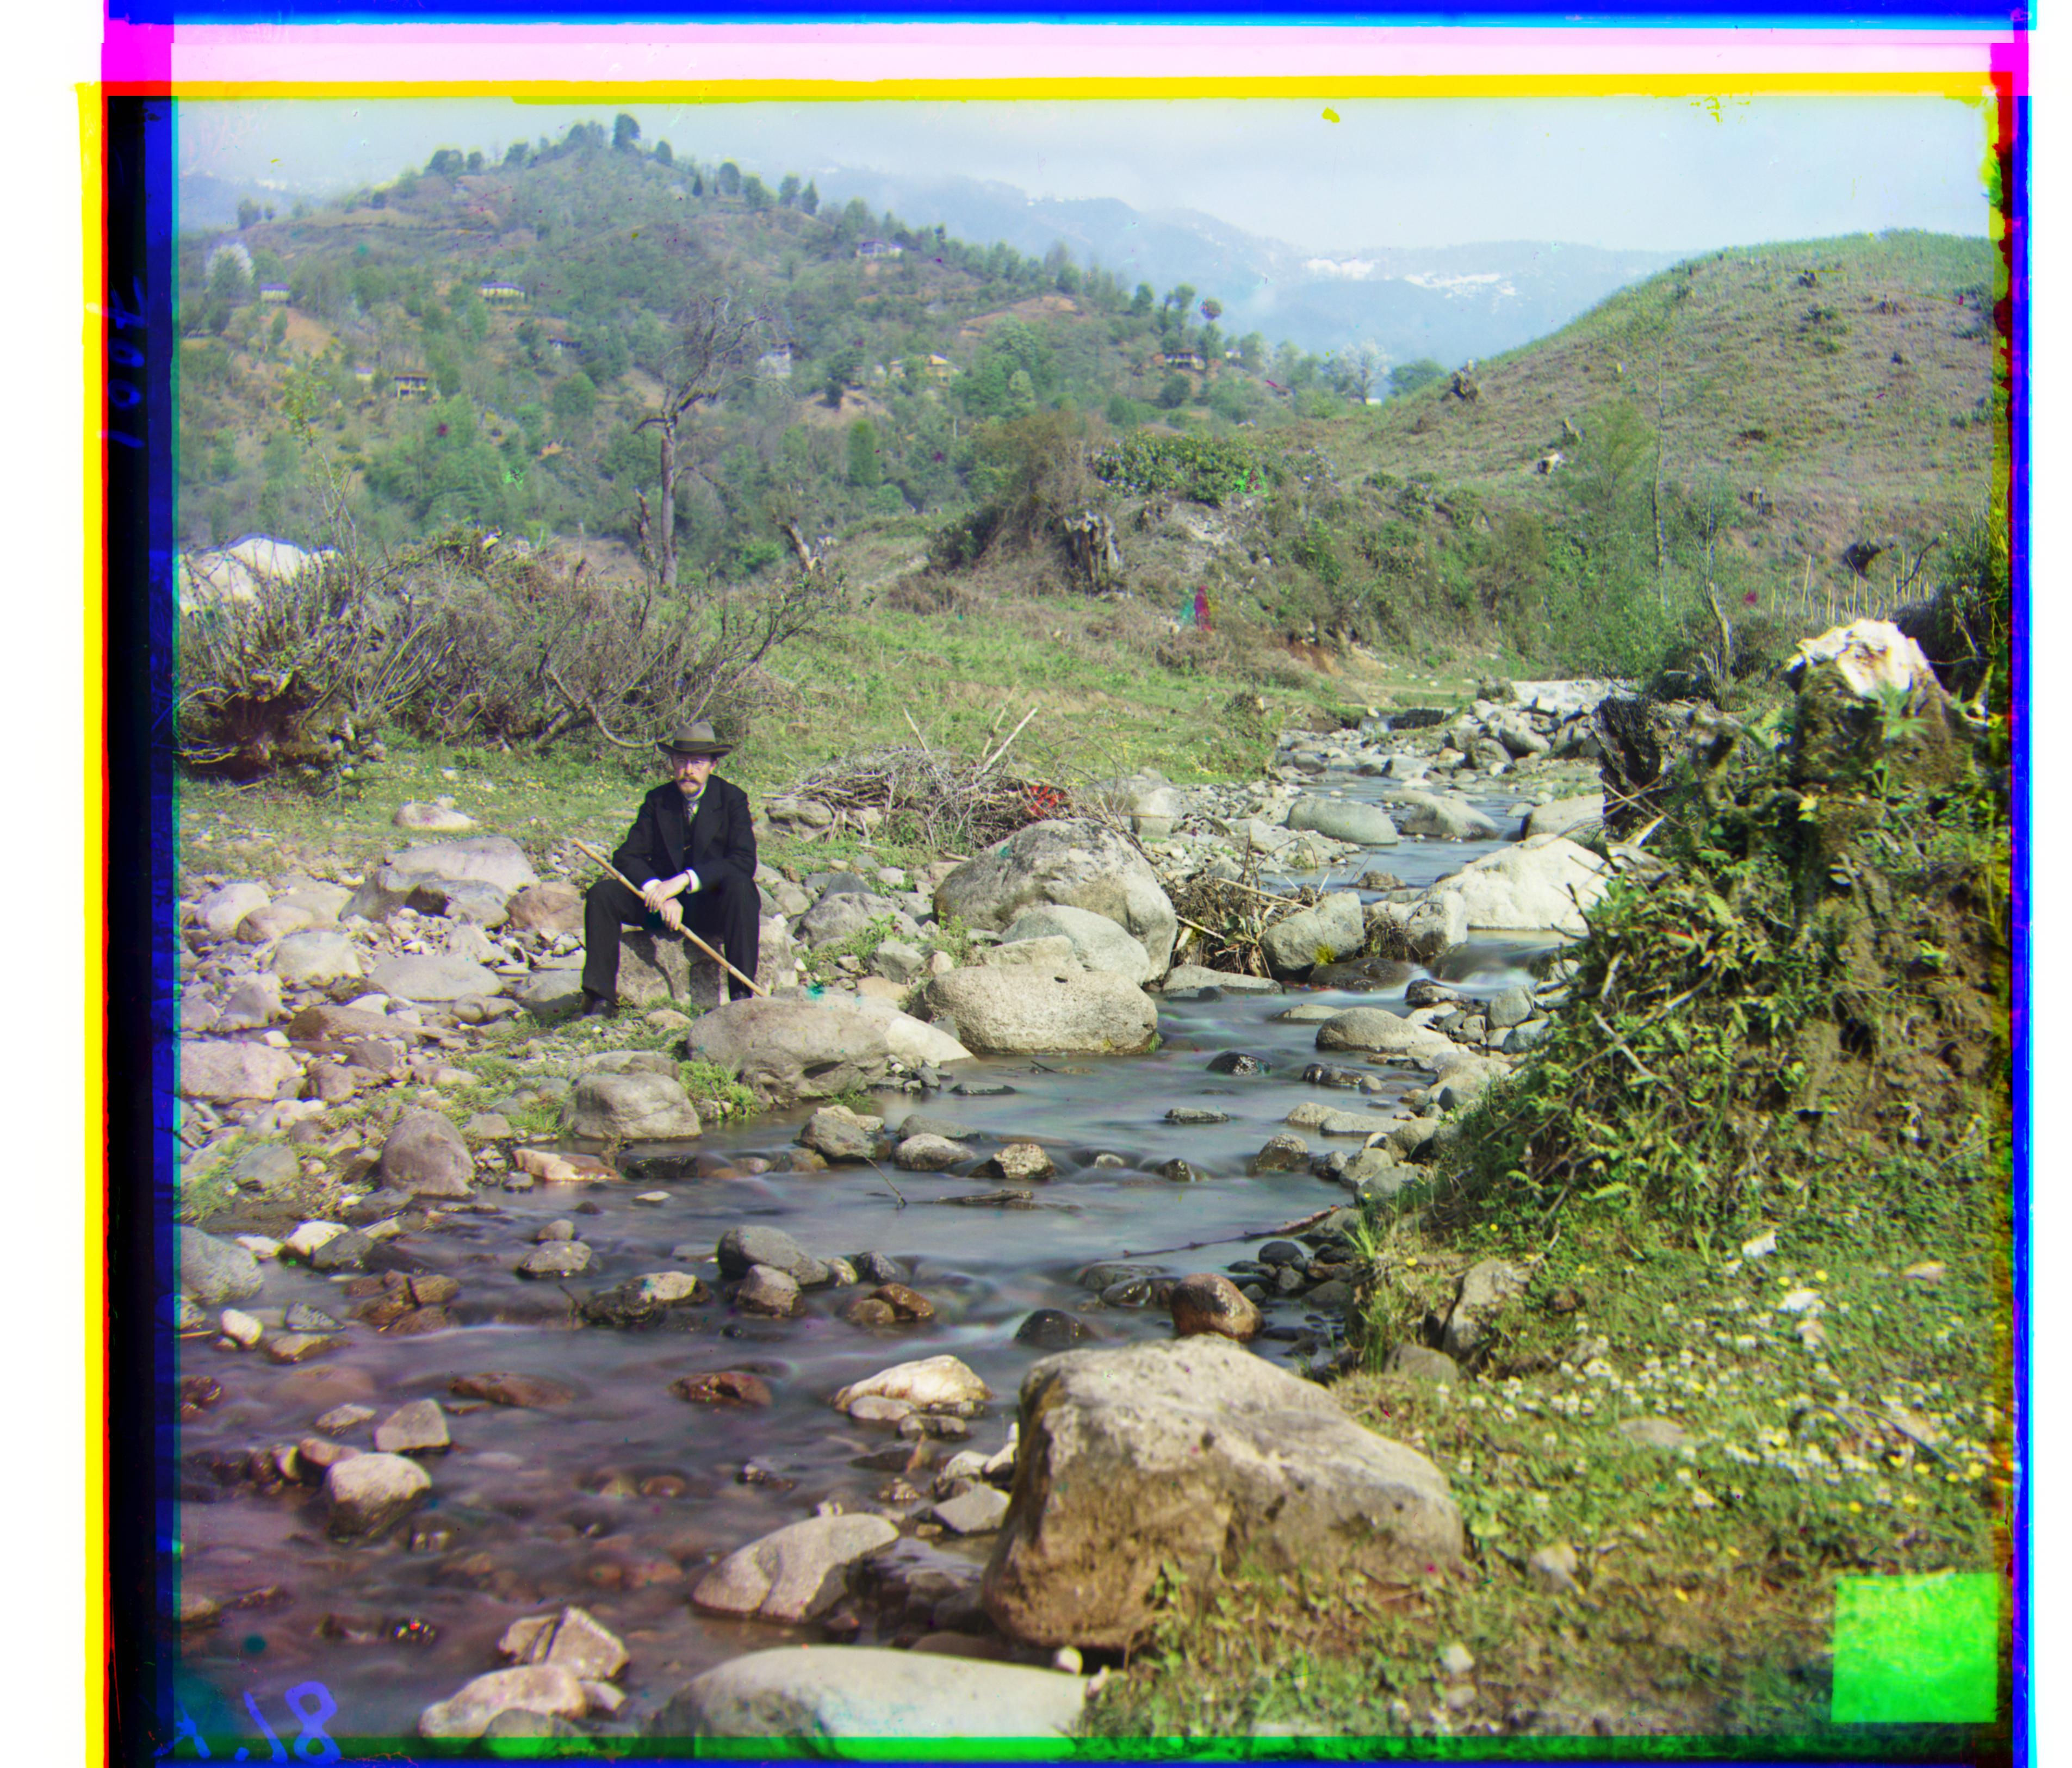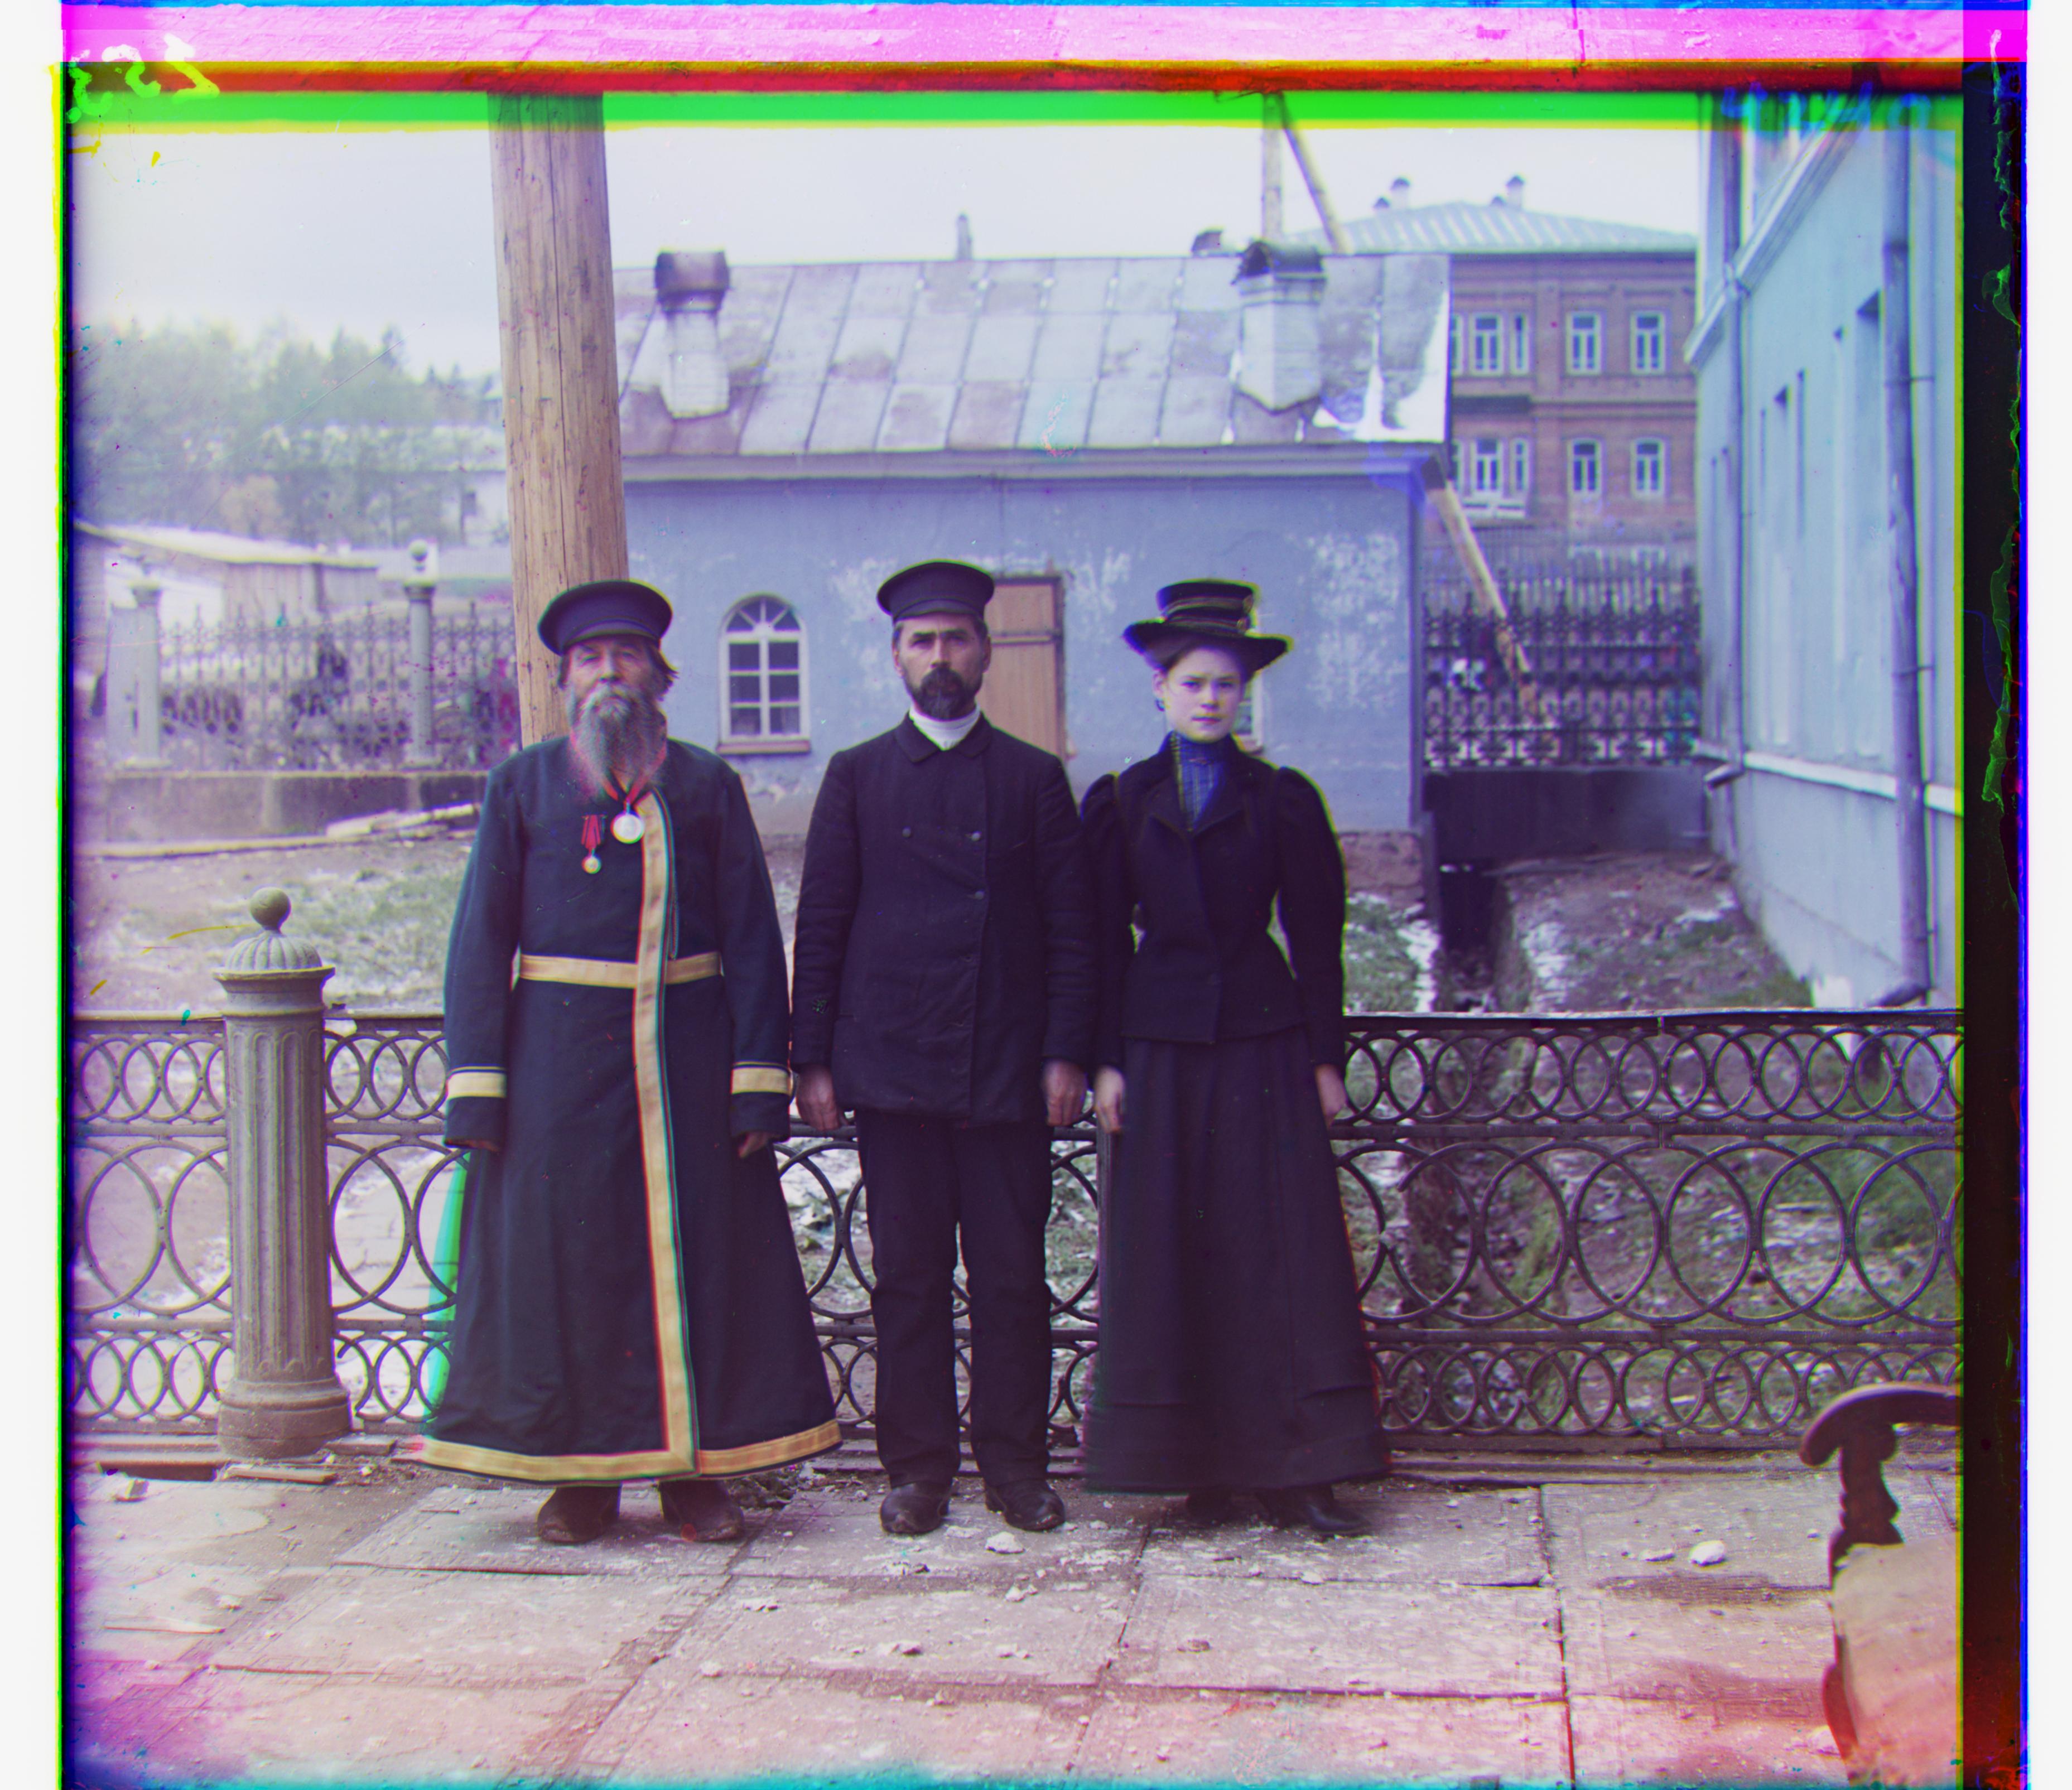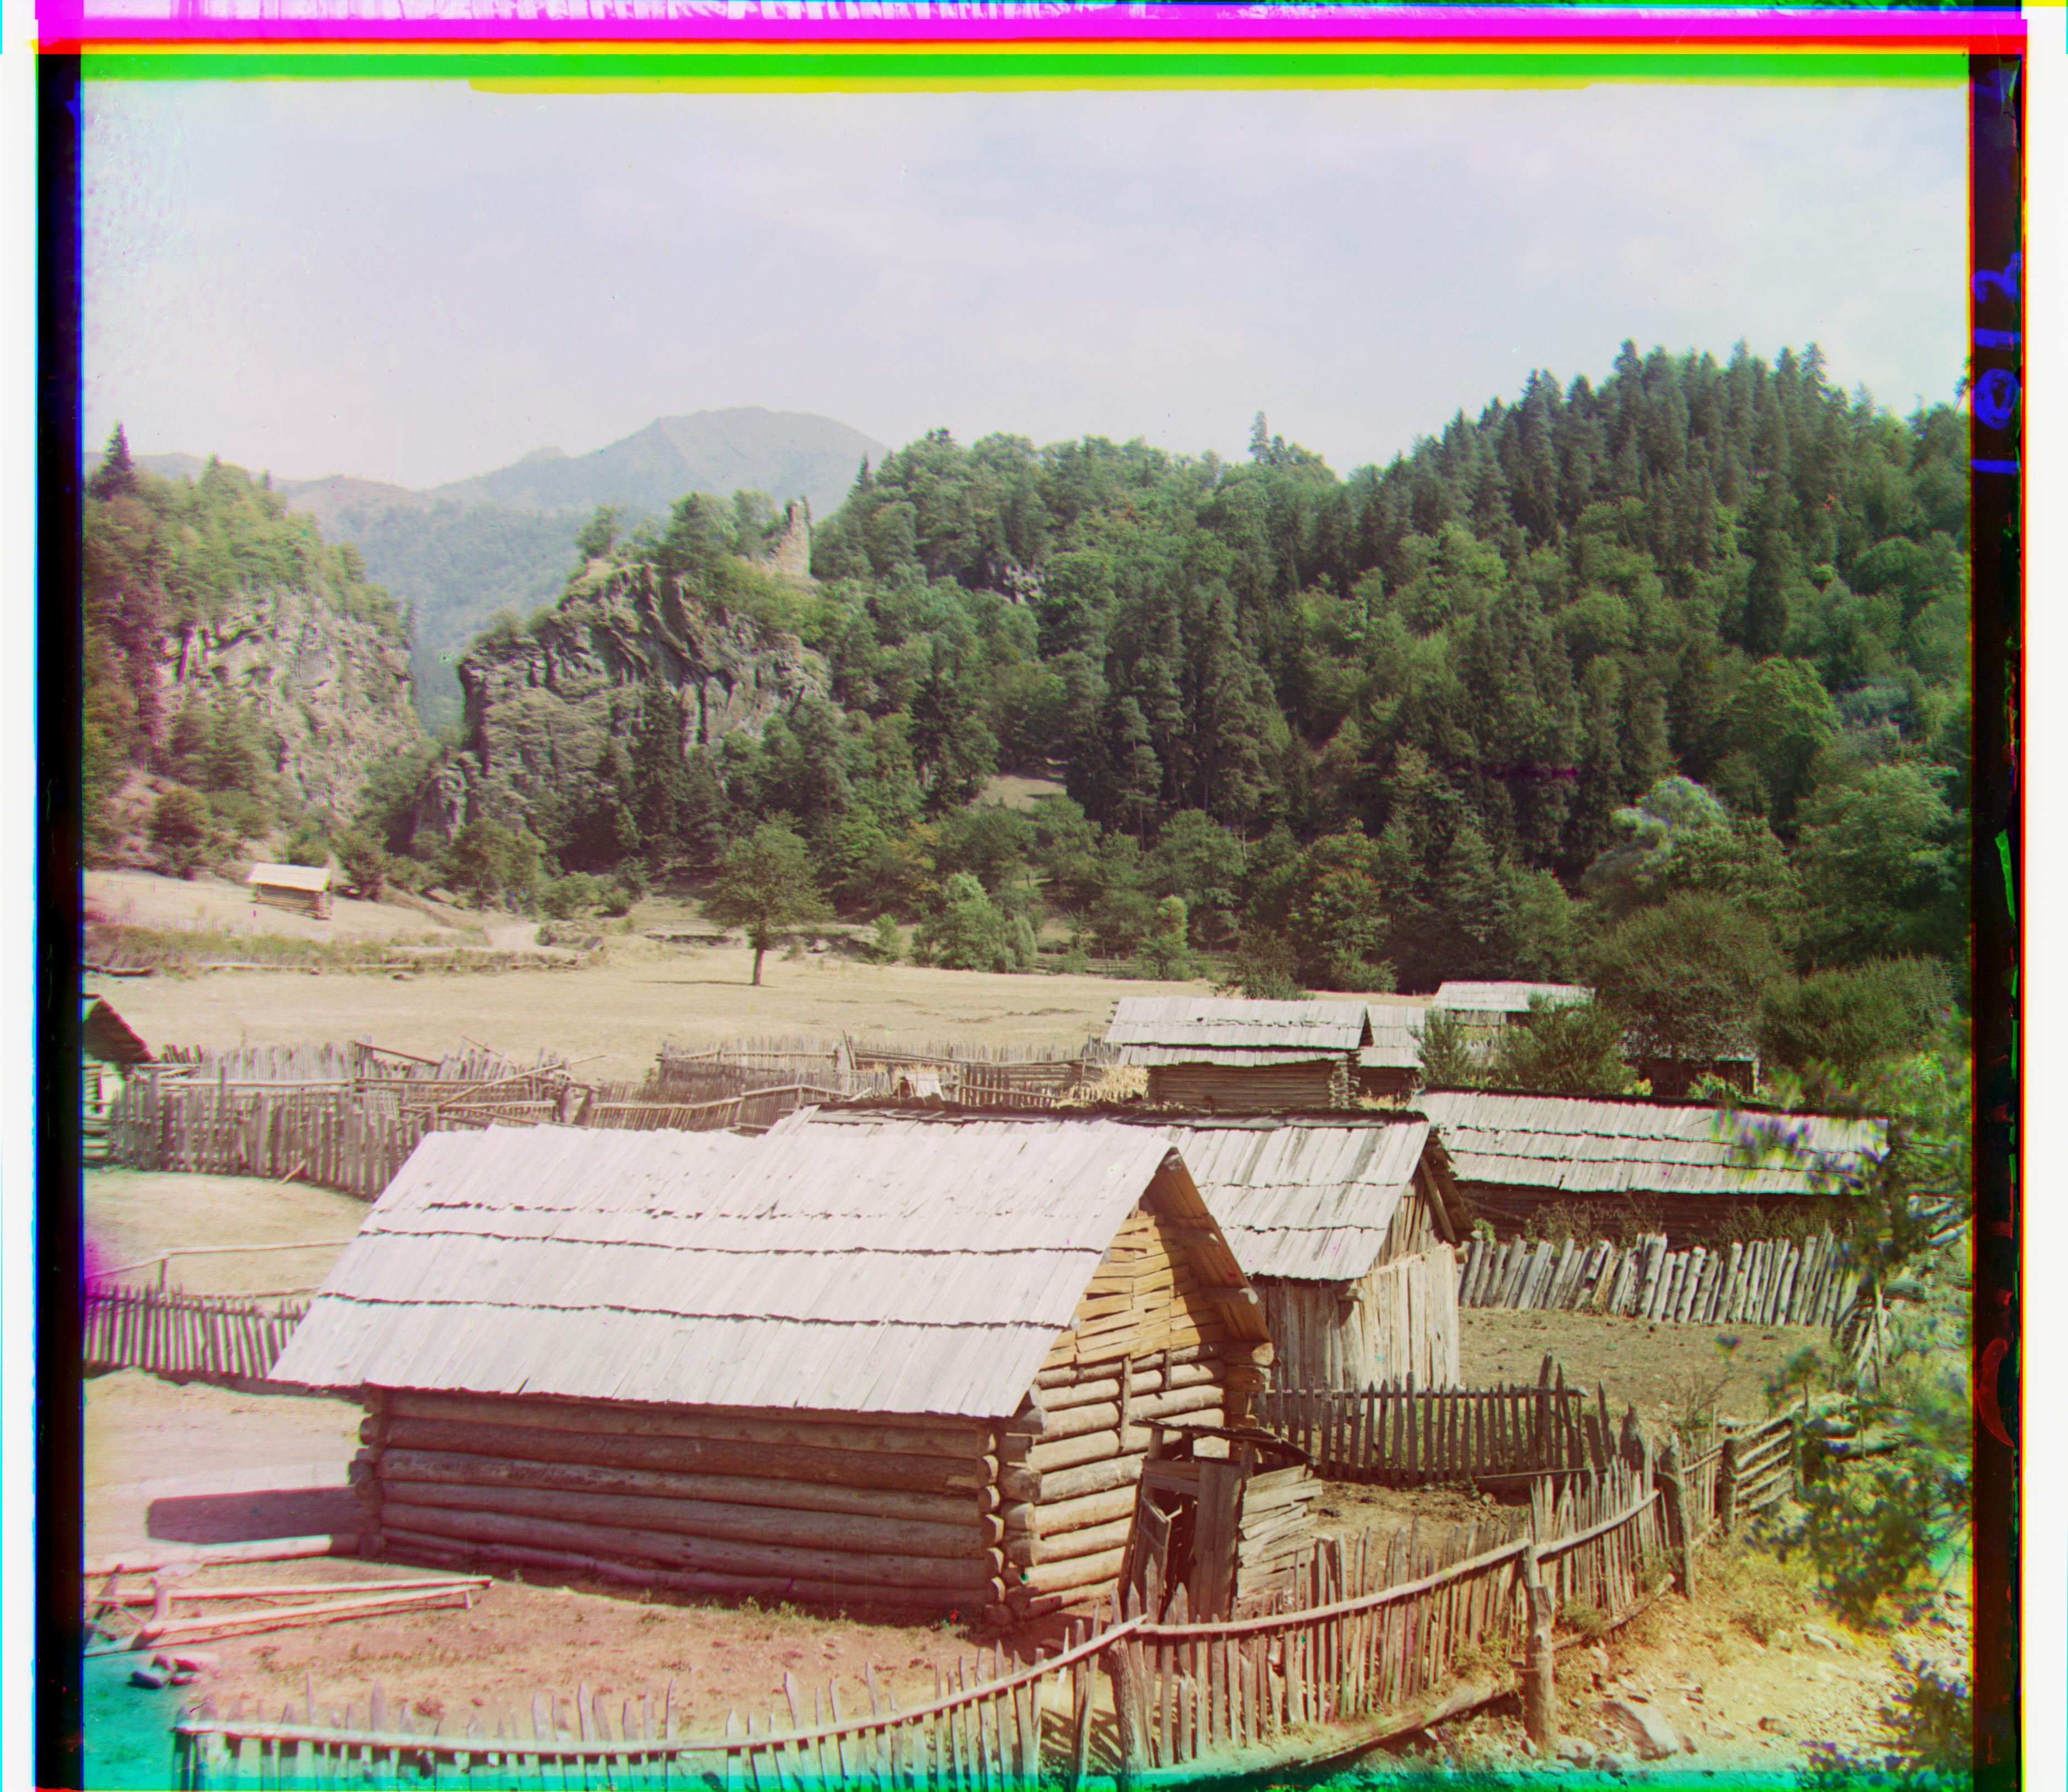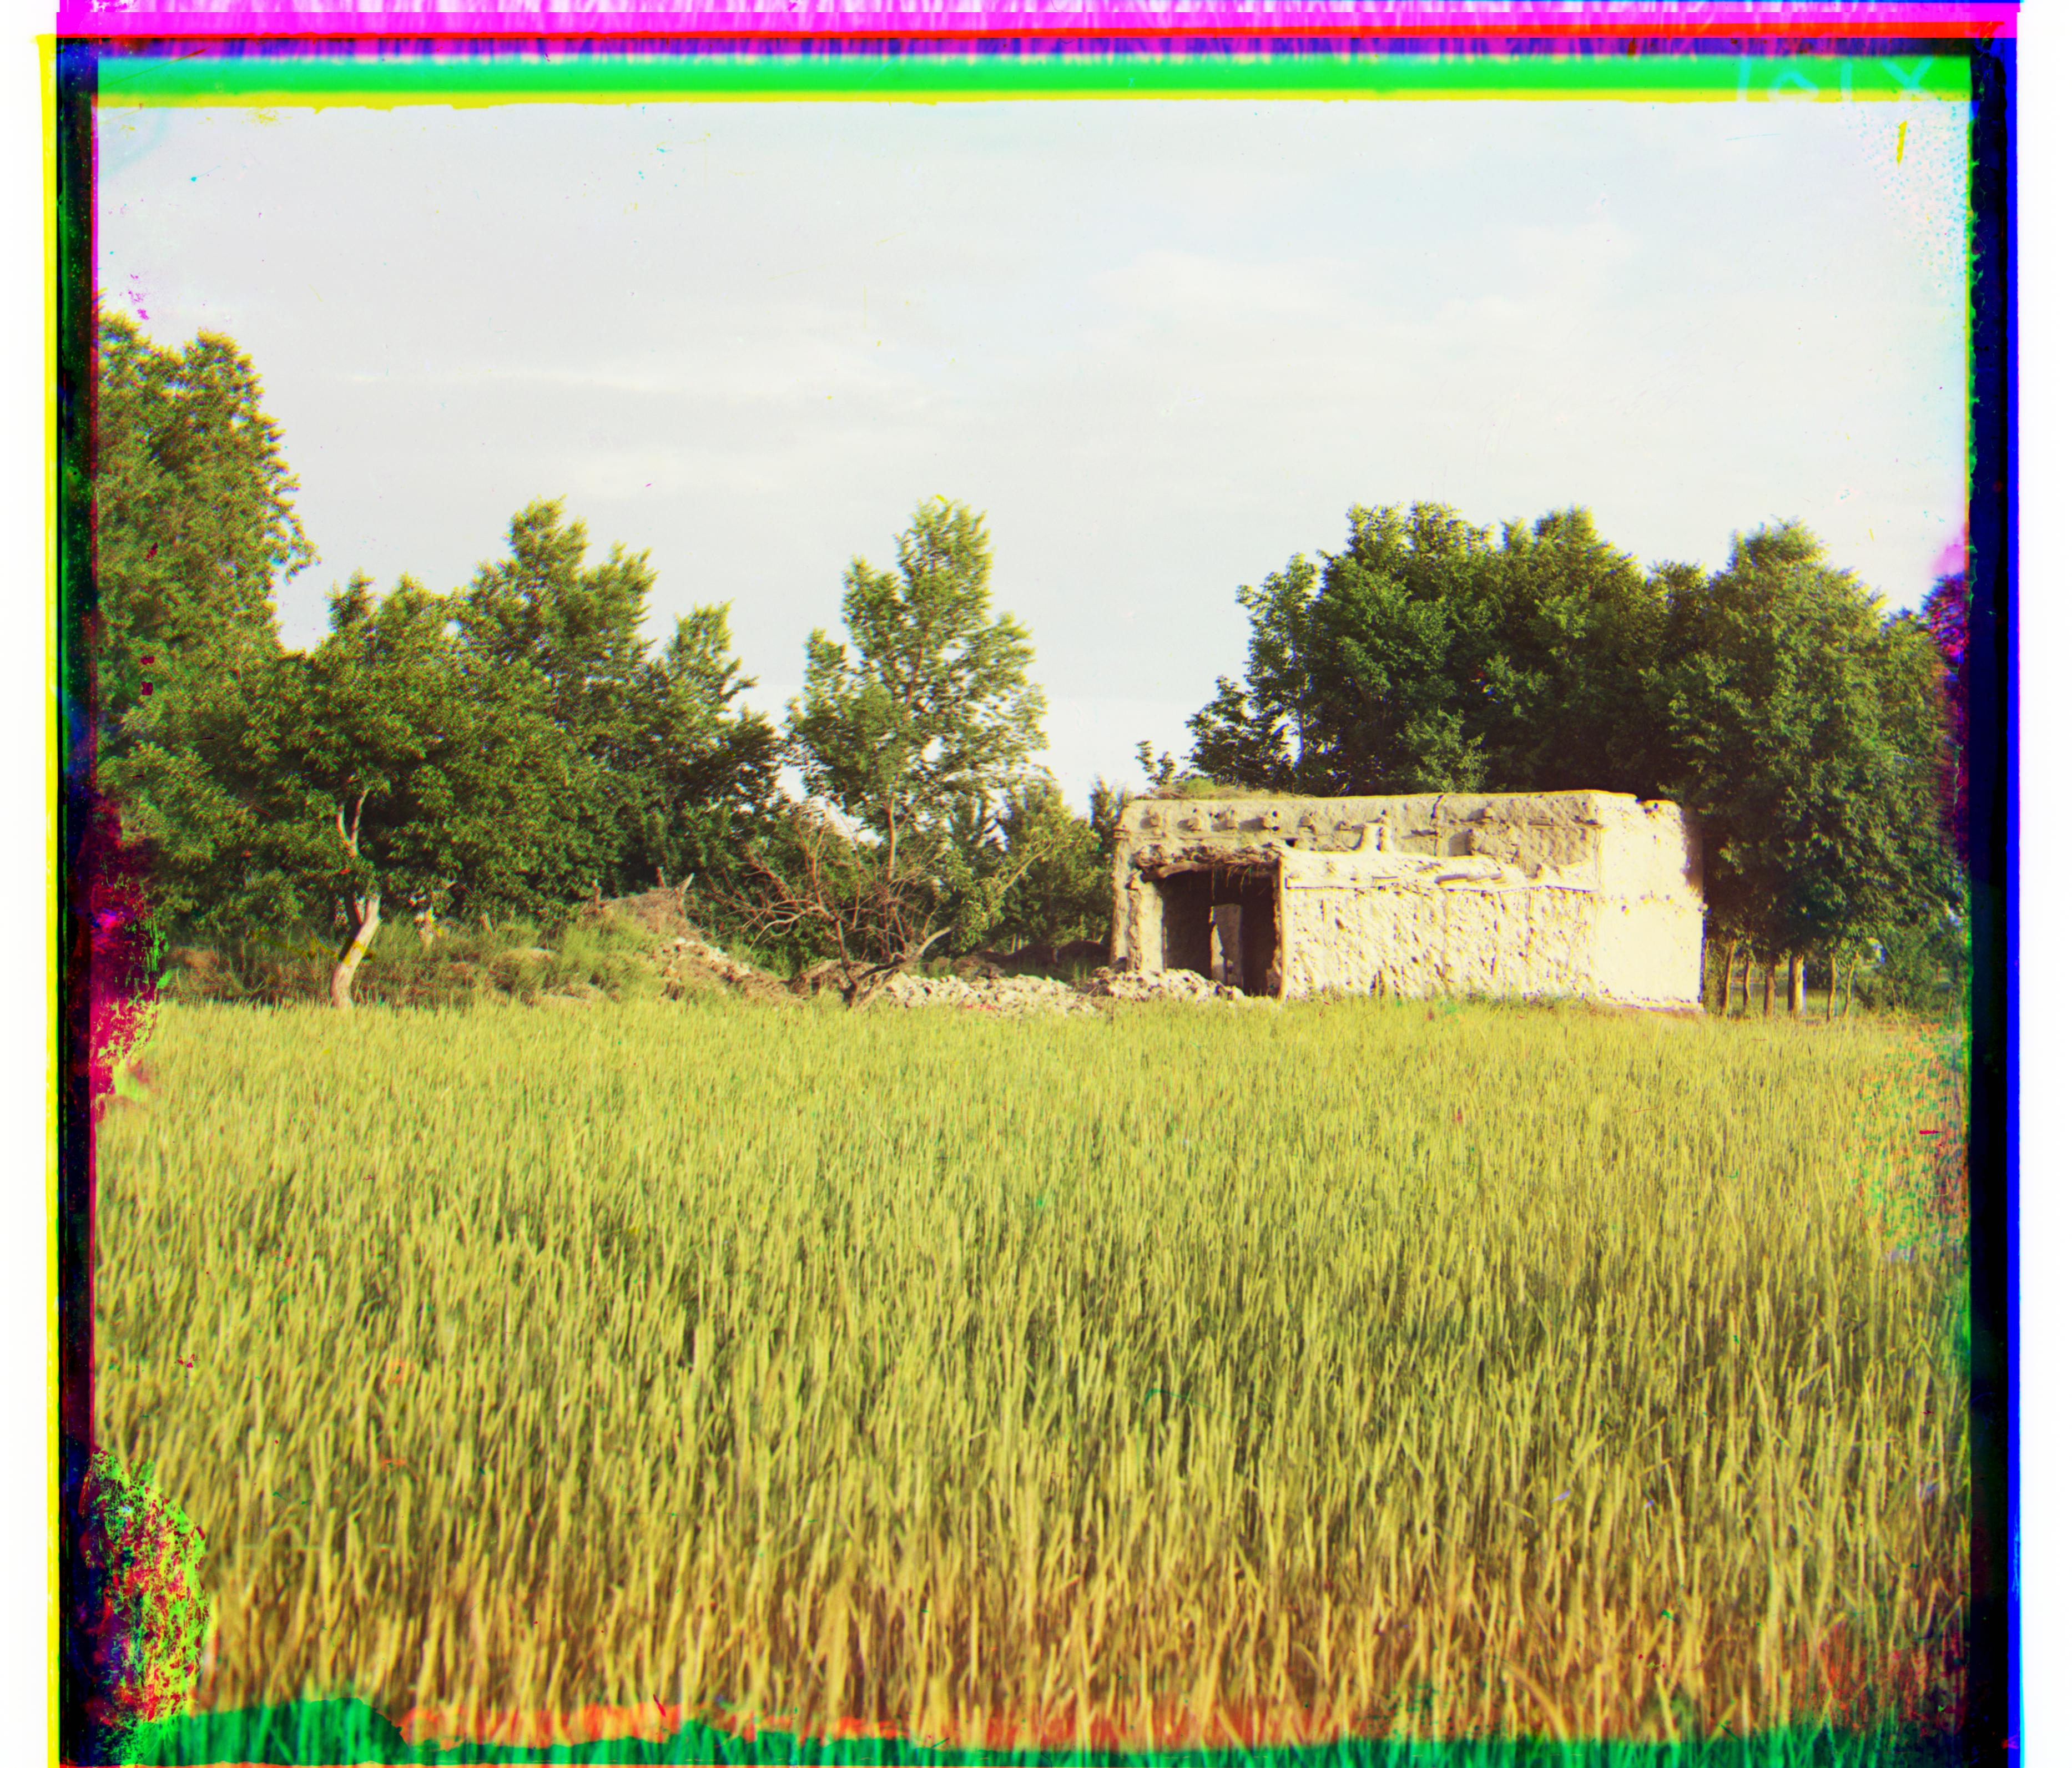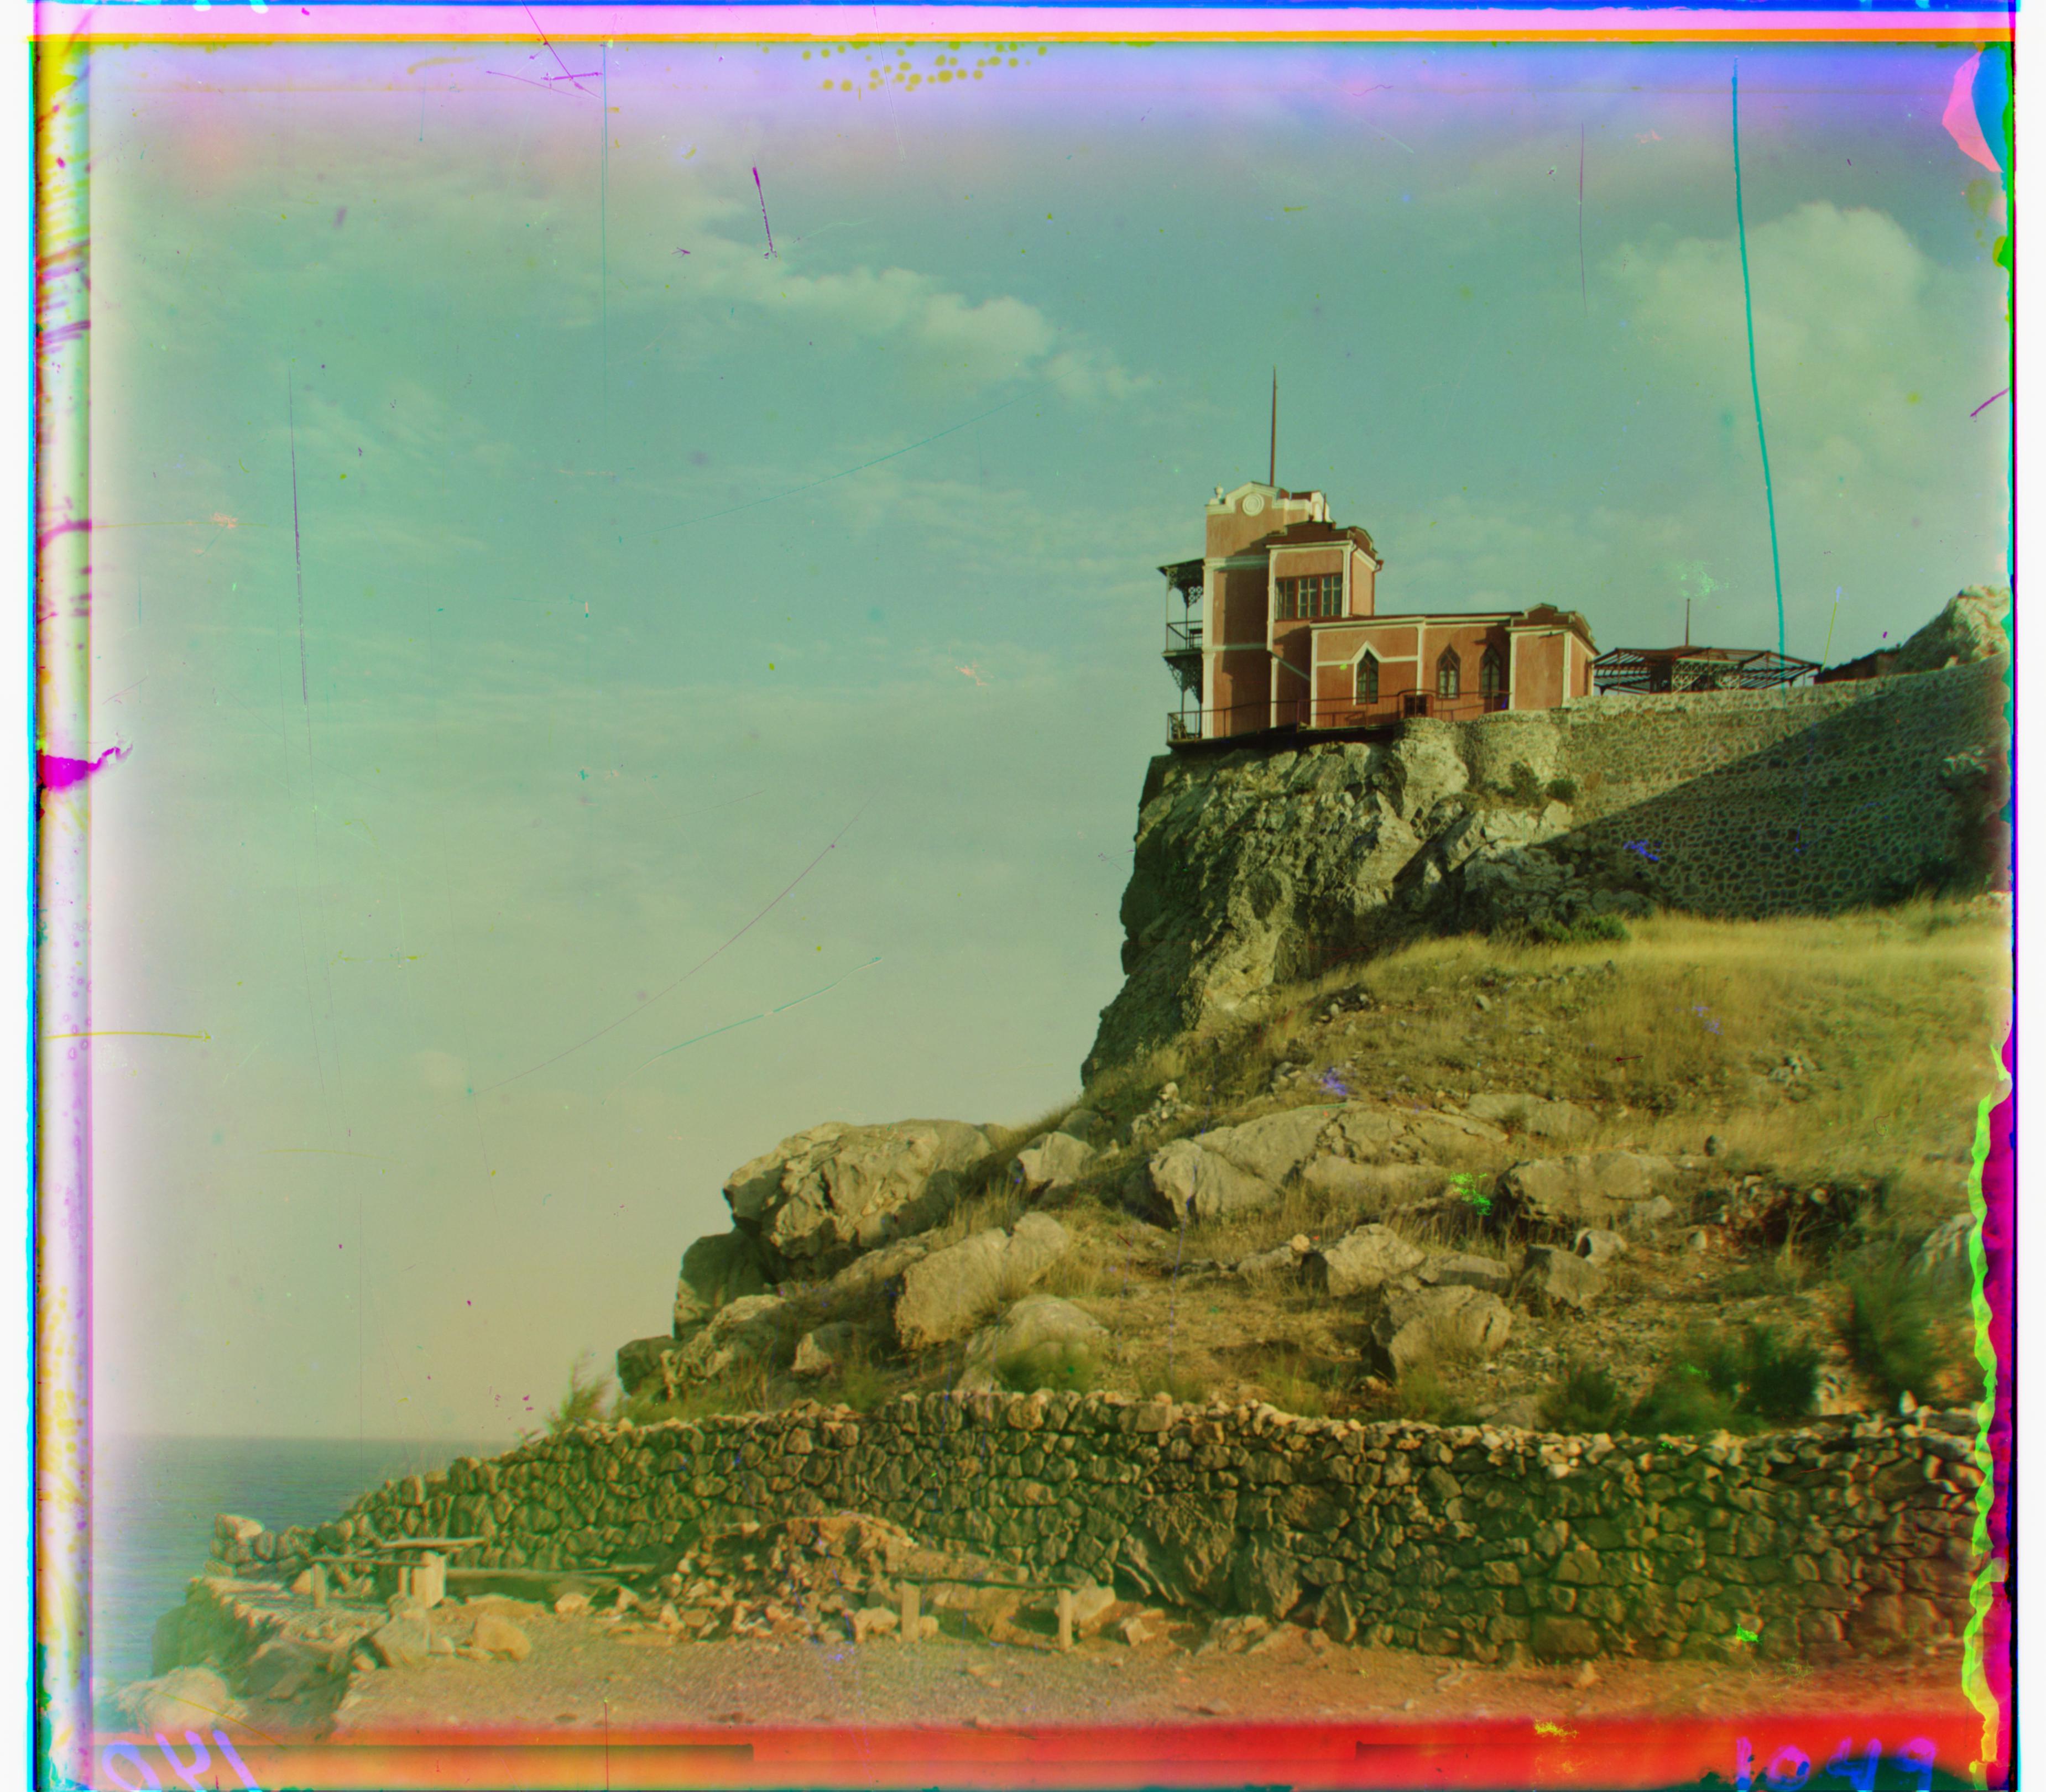
Cathedral
R: [12, 3], G: [5, 2]
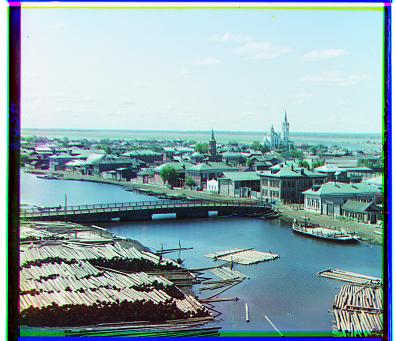
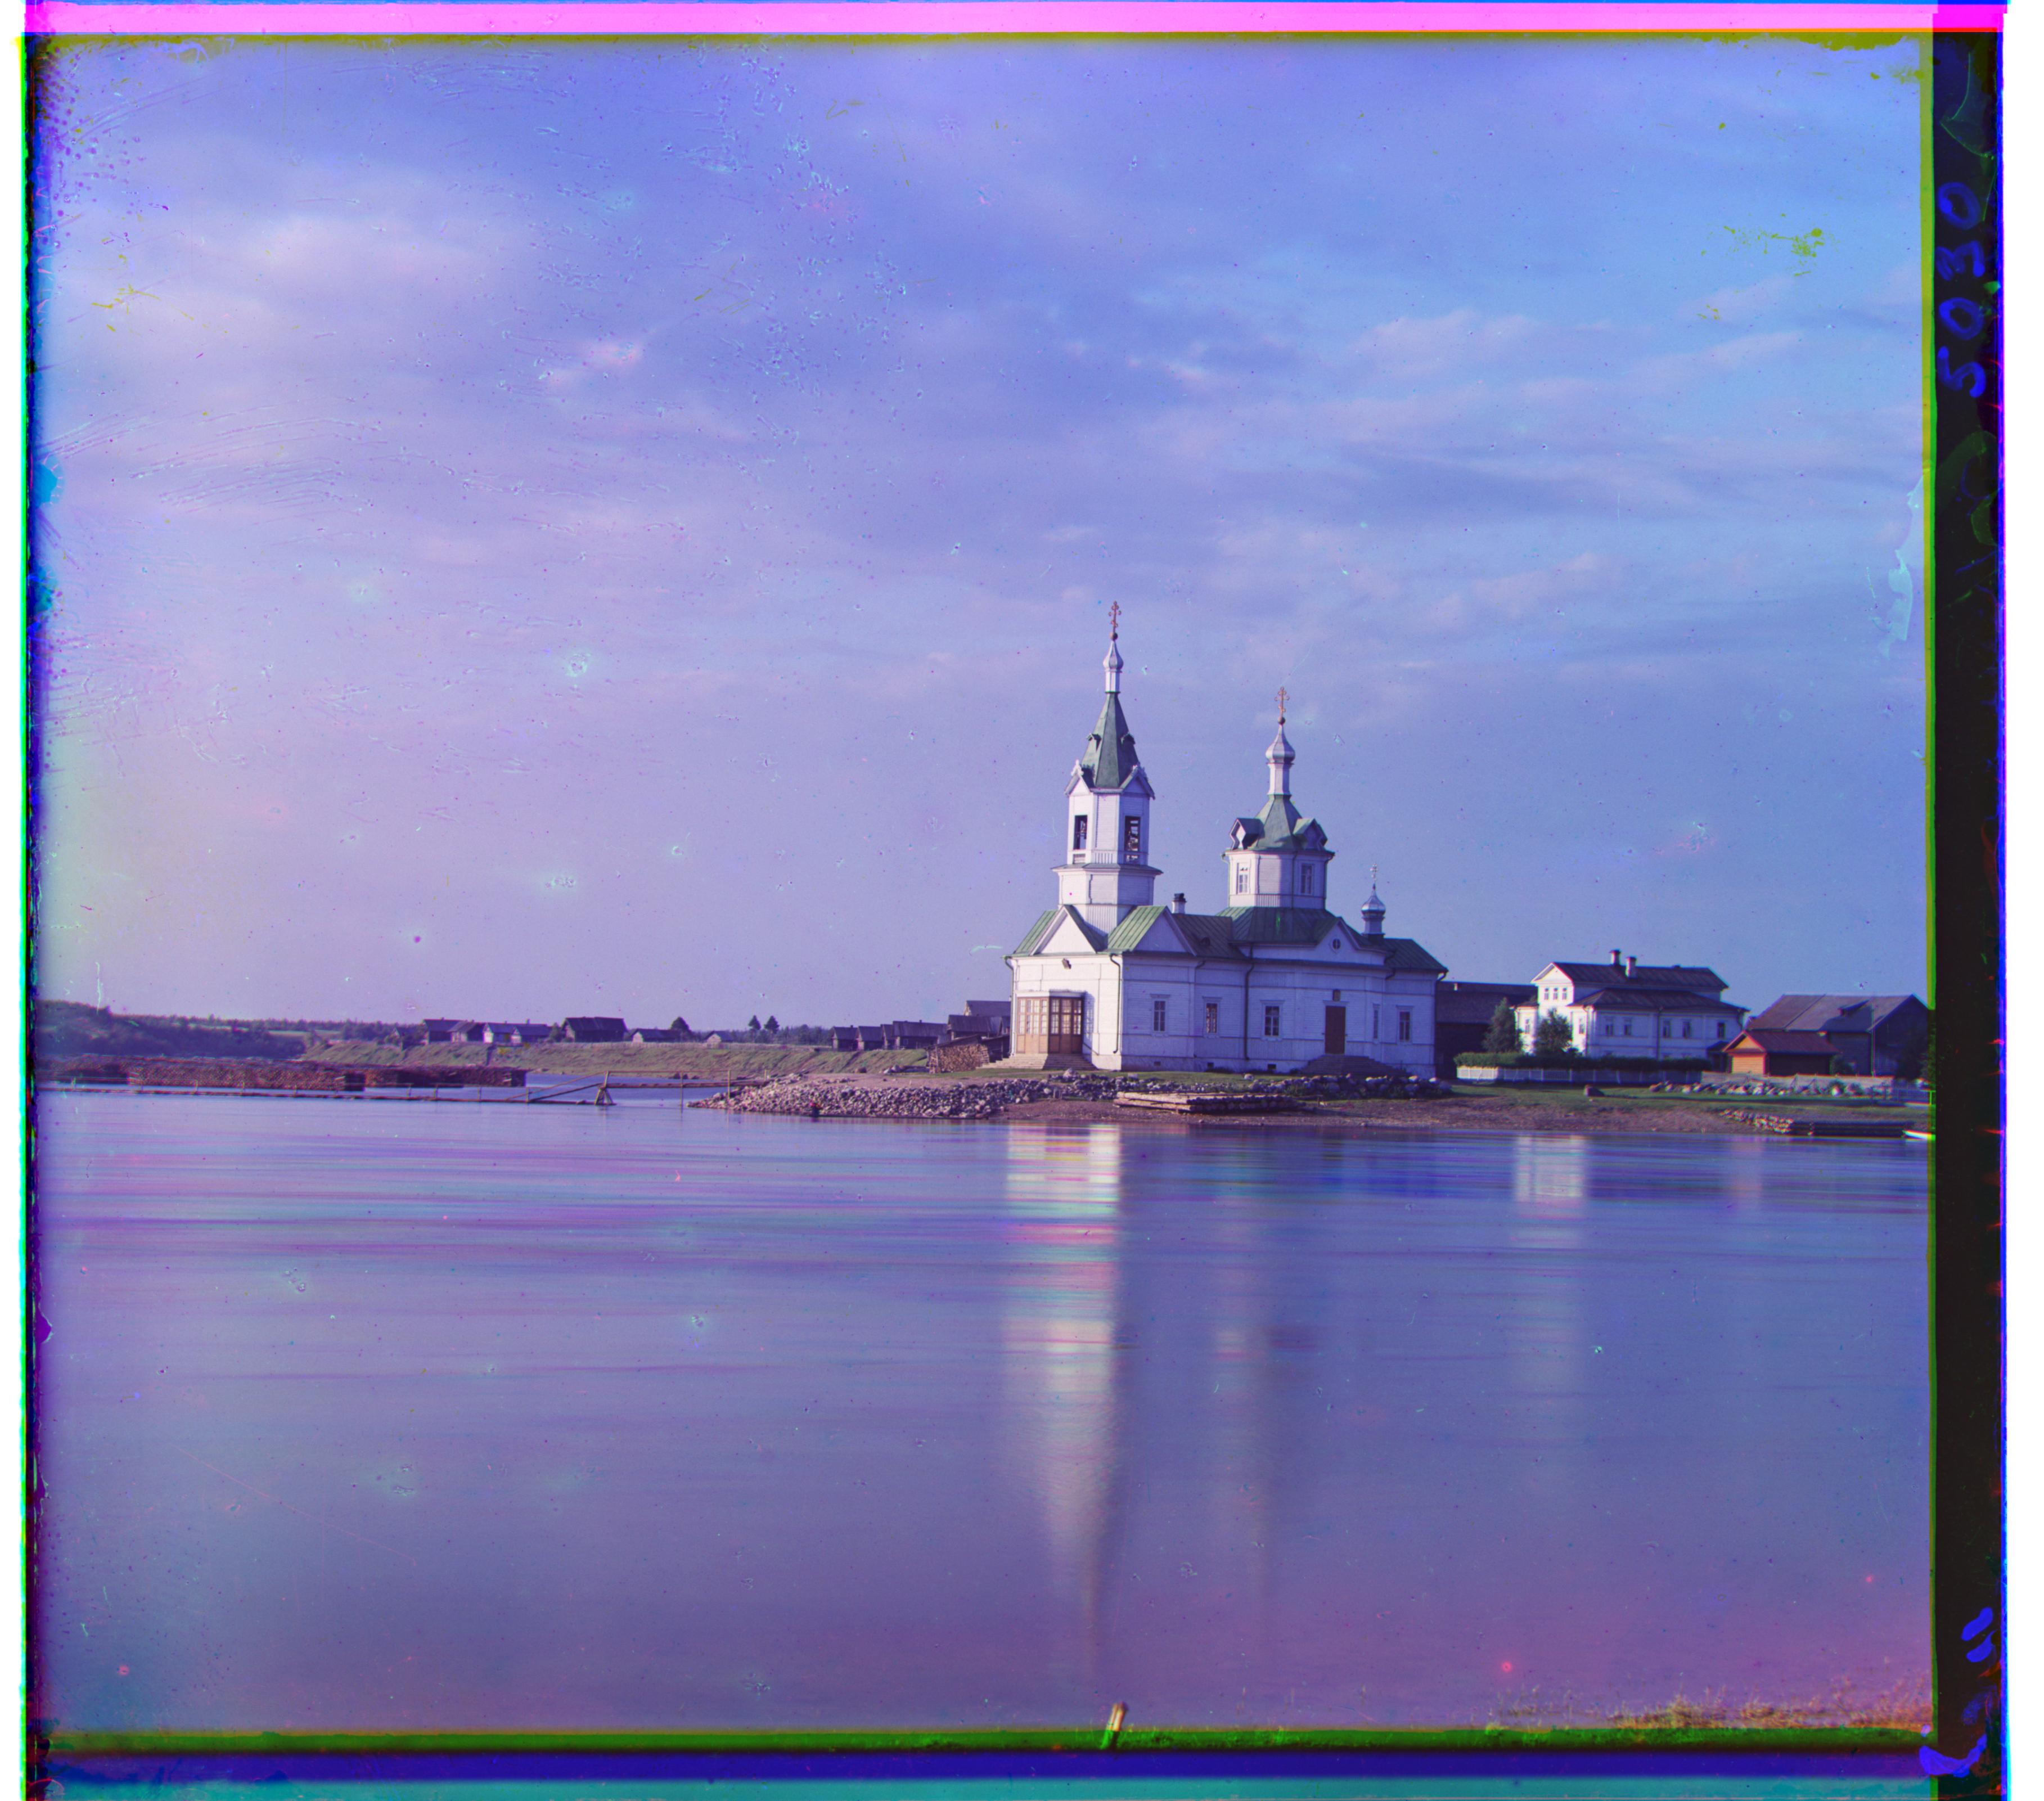
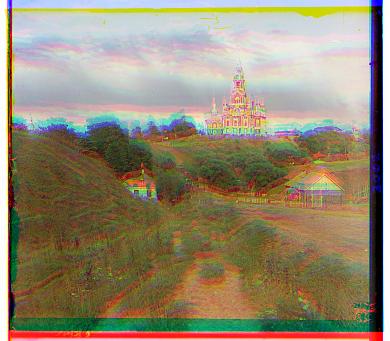
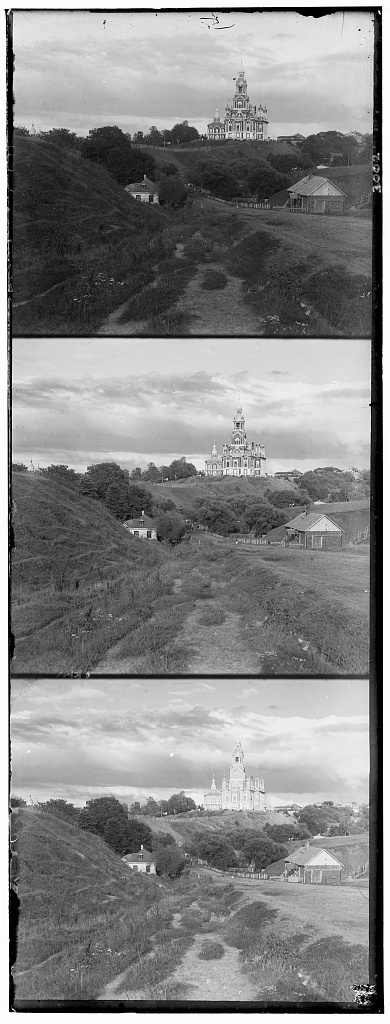 If we naively just put this channels into an RGB color image, the image does not look very good or natural, since these images were not taken from the exact same position, leading to chromatic fringing and other visual artifacts. Below is the same cathedral image above, but assembled into a color image with no alignment:
 To align these small images, we simply do a brute force search over all possible displacements of -15 to 15 pixels in both directions. We pick the best displacement for each channel with respect to a reference channel according to a chosen metric.
In our implementation, we always align the red and green channels to the blue channel, and our chosen metric of choice is Normalized Cross Correlation (NCC), which is defined as shown below:
 We treat each image as a vector, normalize each vector by its norm, and then calculate the dot product. We want to maximize this metric, since it corresponds with the level of alignment. This is likely better than other simple metrics, such as minimizing the Euclidian norm of the difference between different channels. The reason is because the Euclidian norm will have a loss if the overall intensity is different between color channels, whereas NCC is a measurement more of the alignment of the different channels. There will still be a positive signal if the intensities are not the same, but just a stronger one if the intensities align as much as possible.
After alignment, we see that the image now does not have chromatic fringing, and looks close to a normal color image. The edges do not look great, but this is to be expected since to keep the shapes the same we are rolling part of the image from the top and right to the bottom and left. Future work could add automatic cropping. The same cathedral image after alignment is shown below:

 In more detail, alignment is done highest level (most downsampled), giving some displacement vector (x, y). This gives us the coarsest level of alignment. Then, we apply this alignment at the level immediately below (which requires shifting by (2x, 2y) pixels because we are at higher resolution). Then, we return the combined alignment of the previous layer multiplied by 2 and the alignment from the current layer. This process repeats until we are back at the full image. Once we get to an image that is less than 400 pixels in each dimension (around the size of the smaller images), we stop downsampling and start to perform alignment.
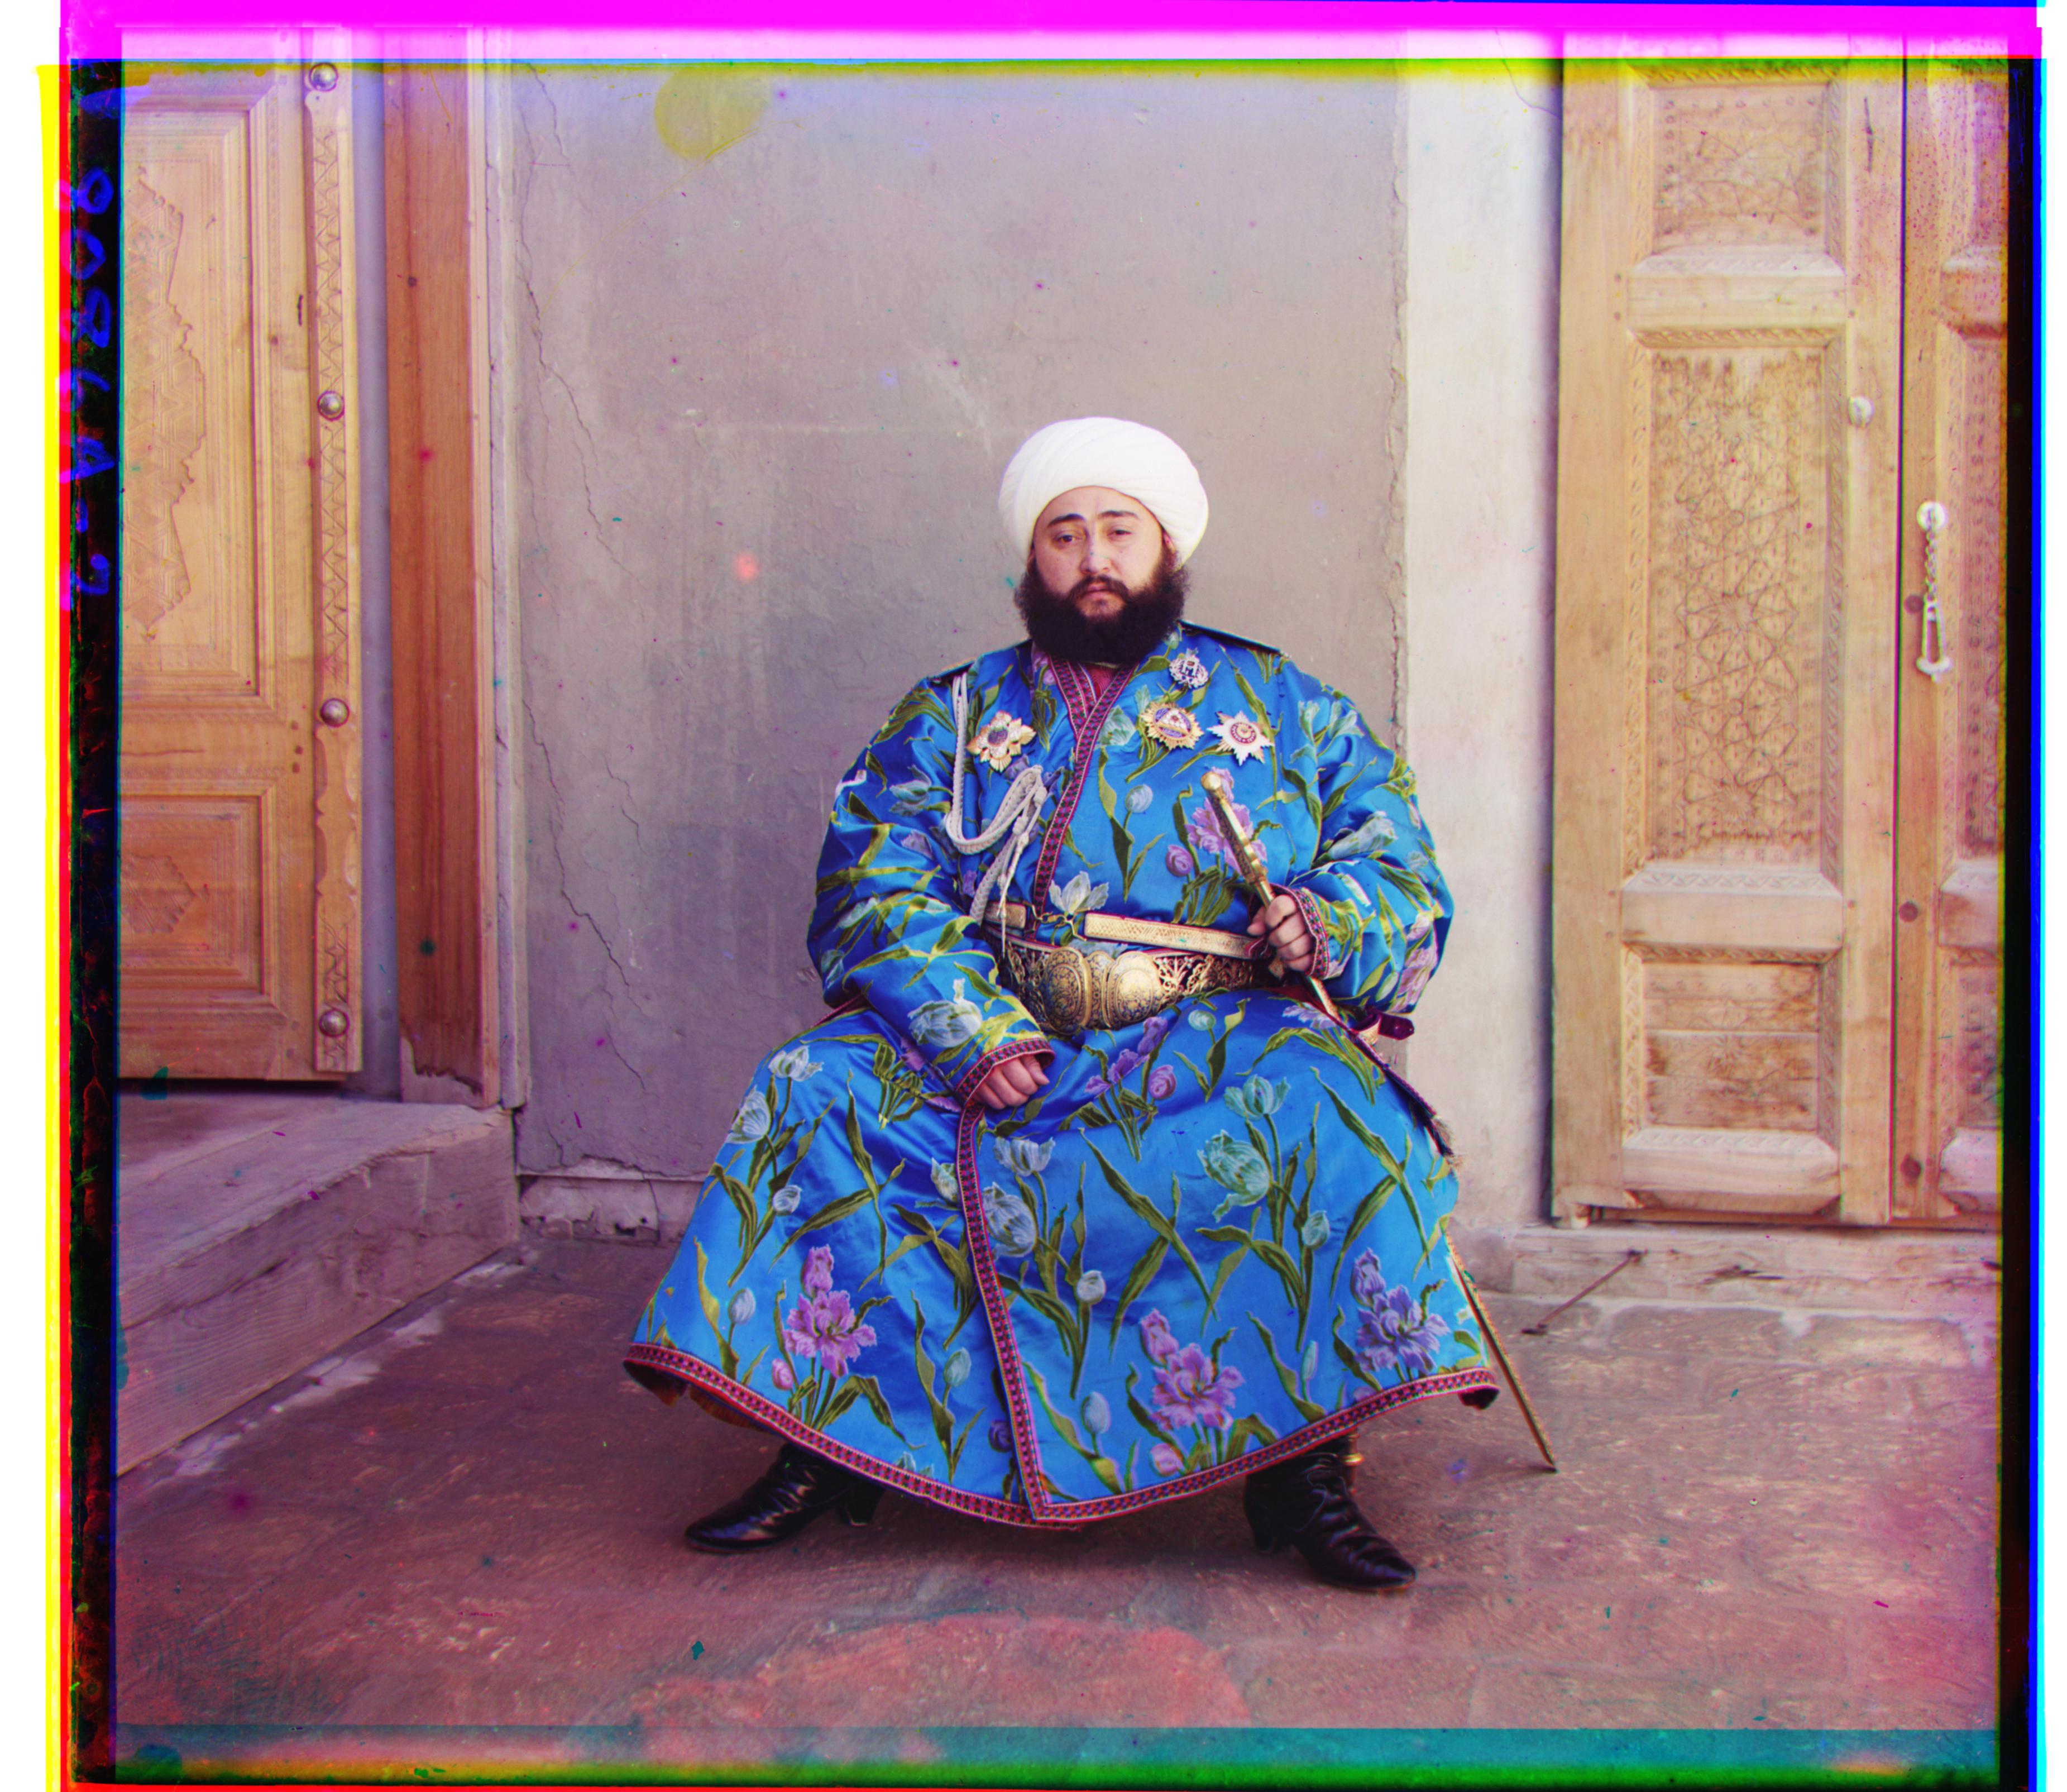
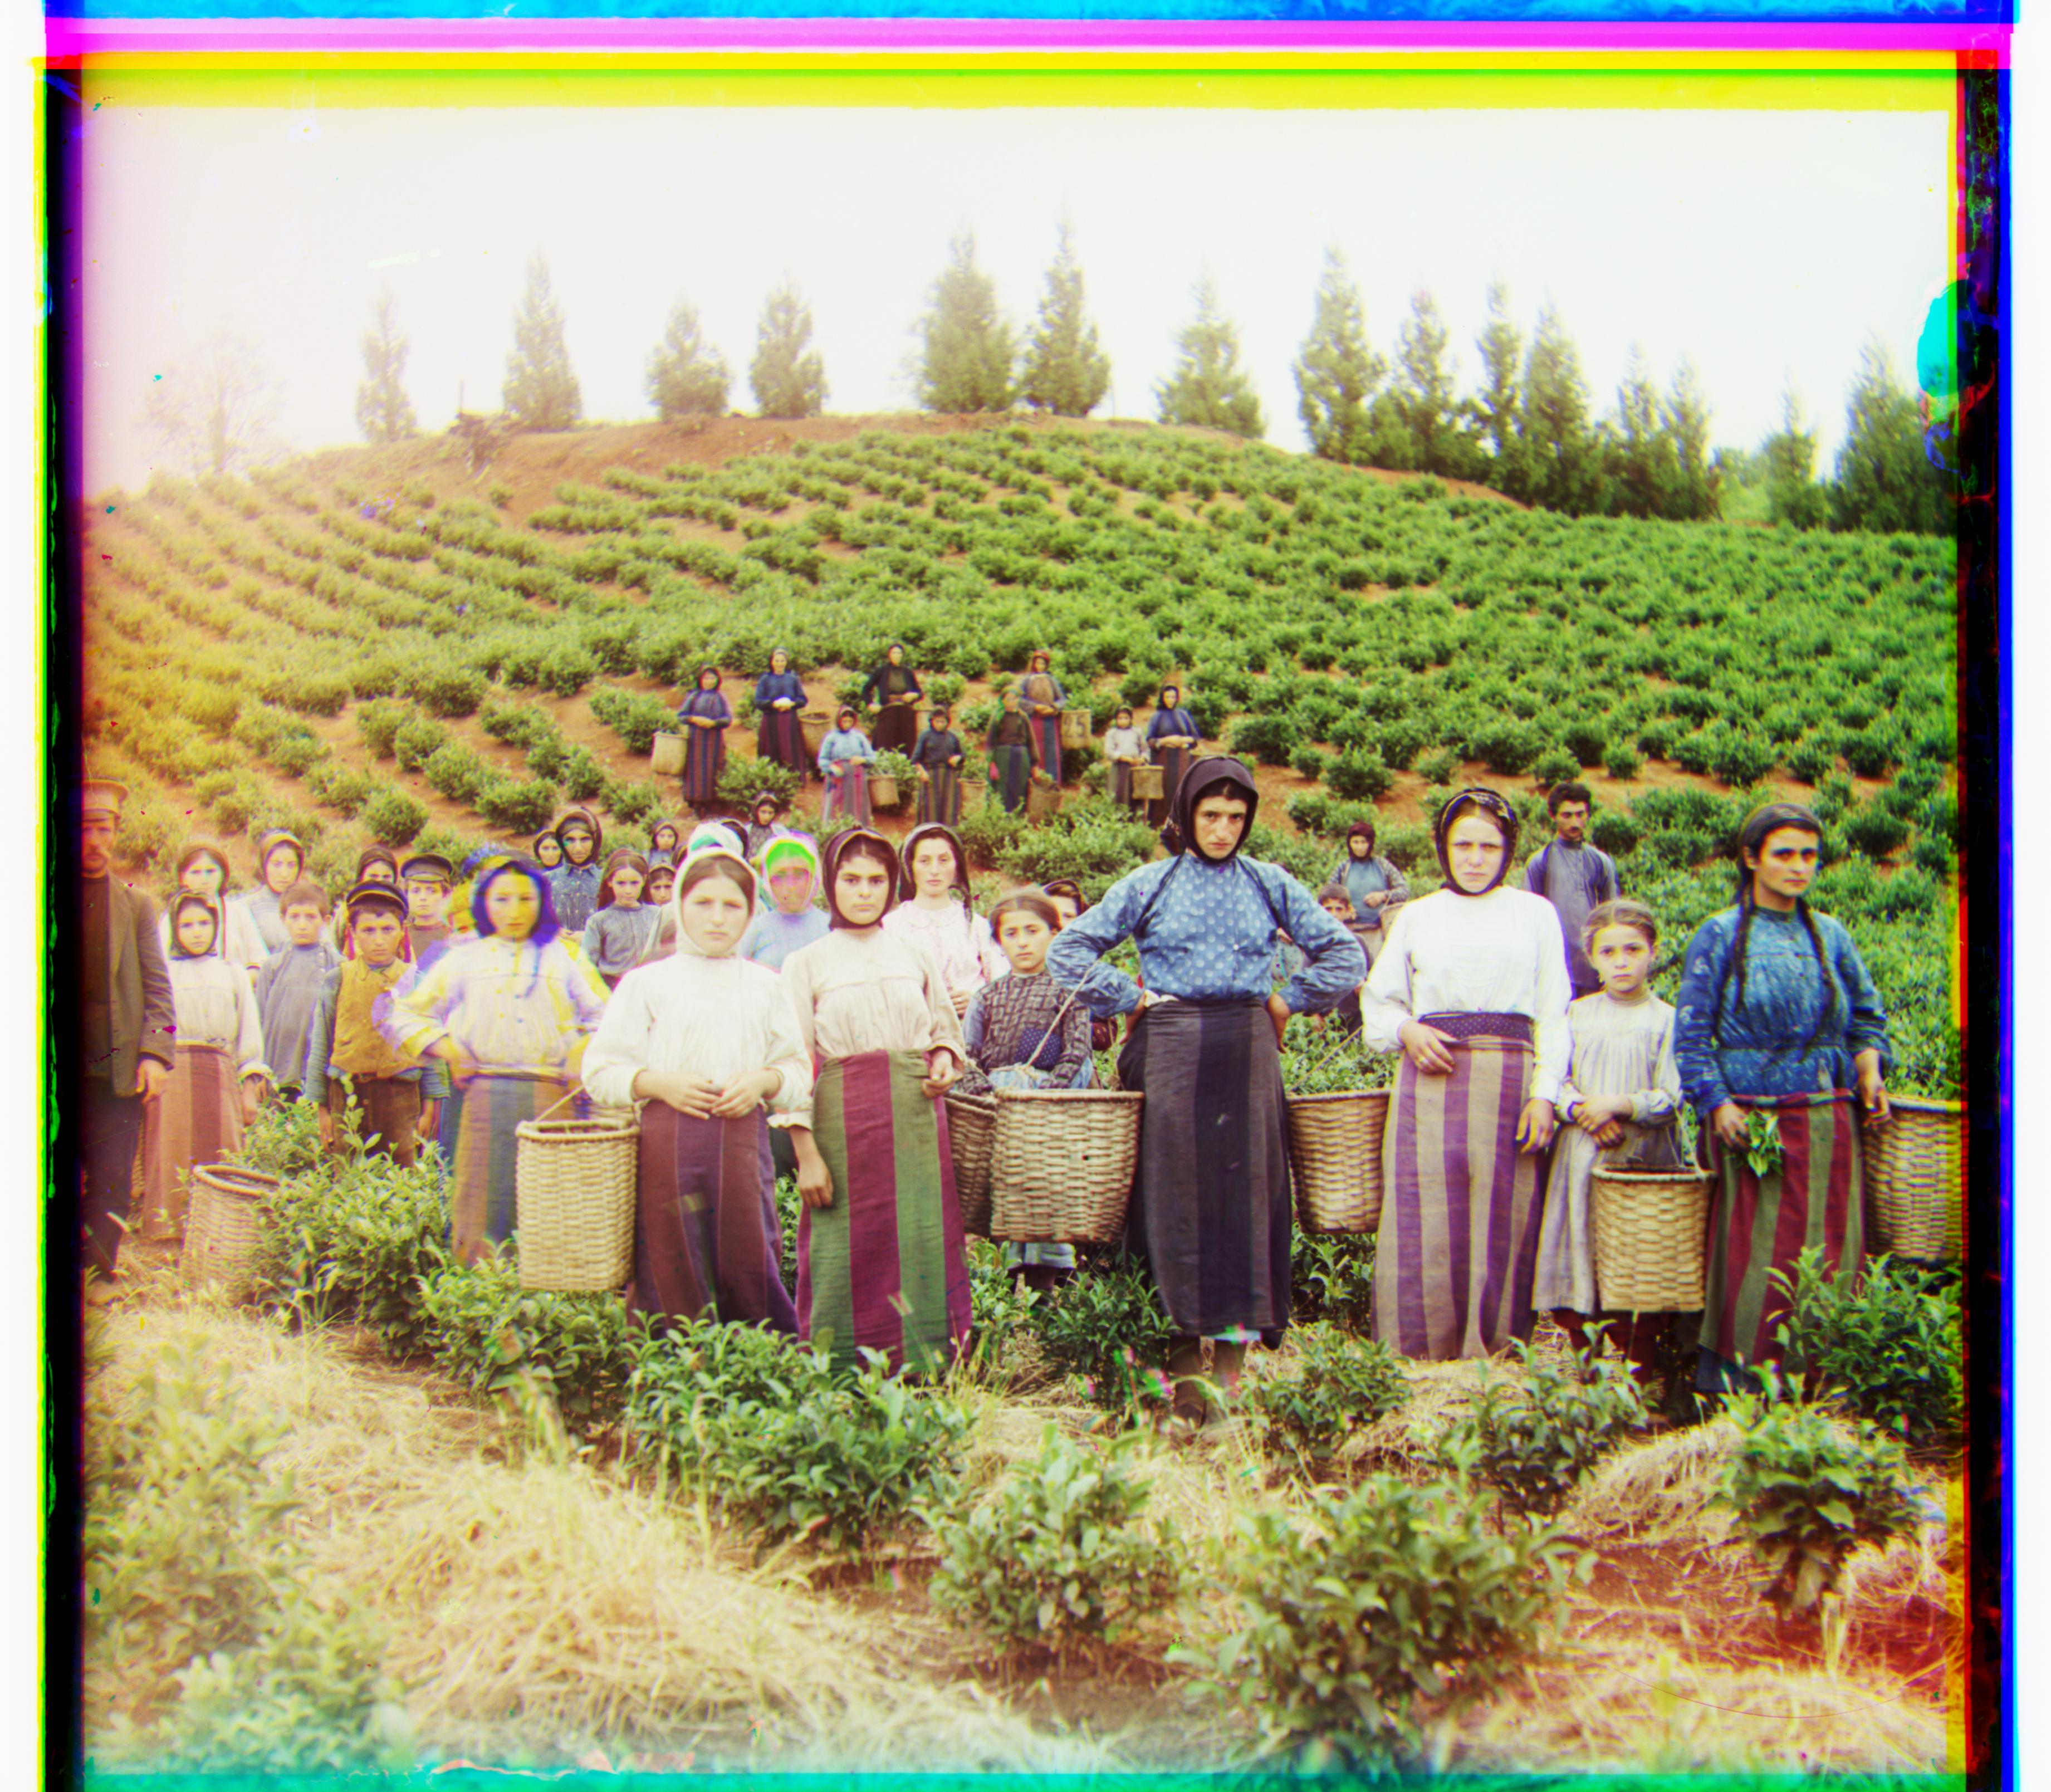
This leads to successful alignment on larger images, like the image shown below:
